DIY Paintless Dent Removal: A Comprehensive Guide to Restoring Your Vehicle’s Exterior
Understanding Paintless Dent Repair (PDR)
Paintless Dent Removal (PDR) is a revolutionary technique that allows car enthusiasts and DIY mechanics to restore their vehicle’s exterior without traditional body shop methods. This innovative approach is perfect for shallow to medium-depth dents caused by hail, parking lot dings, and minor collisions.
Difficulty Level and Damage Assessment
Skill Level: Intermediate
Suitable Dent Types:
– Small to medium-sized dents
– Shallow surface impacts
– Dents without paint damage
– Located on flat or slightly curved metal surfaces
Before you begin, carefully evaluate the dent. Ideal candidates for PDR:
– No cracked or chipped paint
– Dent is less than 6 inches in diameter
– Located on accessible panel areas
– Minimal metal stretching
Essential Tools You’ll Need
Professional DIY PDR Kit Includes:
– Dent removal rods (various lengths and angles)
– Glue pulling tabs
– Glue gun
– Plastic body picks
– Reflective board
– Protective gloves
– Cleaning supplies
Pro Tip: “Invest in quality tools. Precision is key in paintless dent repair.” – Professional Auto Body Technician
Step-by-Step Paintless Dent Removal Process
Step 1: Preparation and Cleaning
– Thoroughly wash the damaged area
– Dry completely with a microfiber cloth
– Remove any dirt or debris around the dent
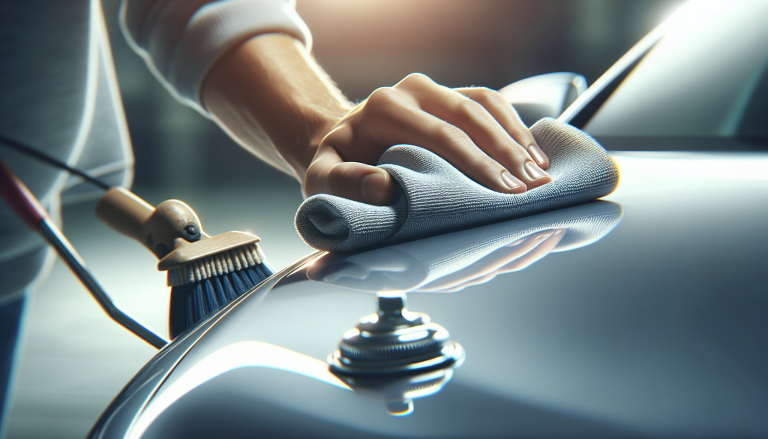
– Ensure good lighting and workspace visibility
Step 2: Access Panel
– Locate the best access point behind the dent
– Remove interior trim panels if necessary
– Use trim removal tools to prevent damage
Step 3: Assess Dent Characteristics
– Use reflective board to understand dent’s exact shape
– Identify highest and lowest points of the dent
– Determine optimal pushing/pulling strategy
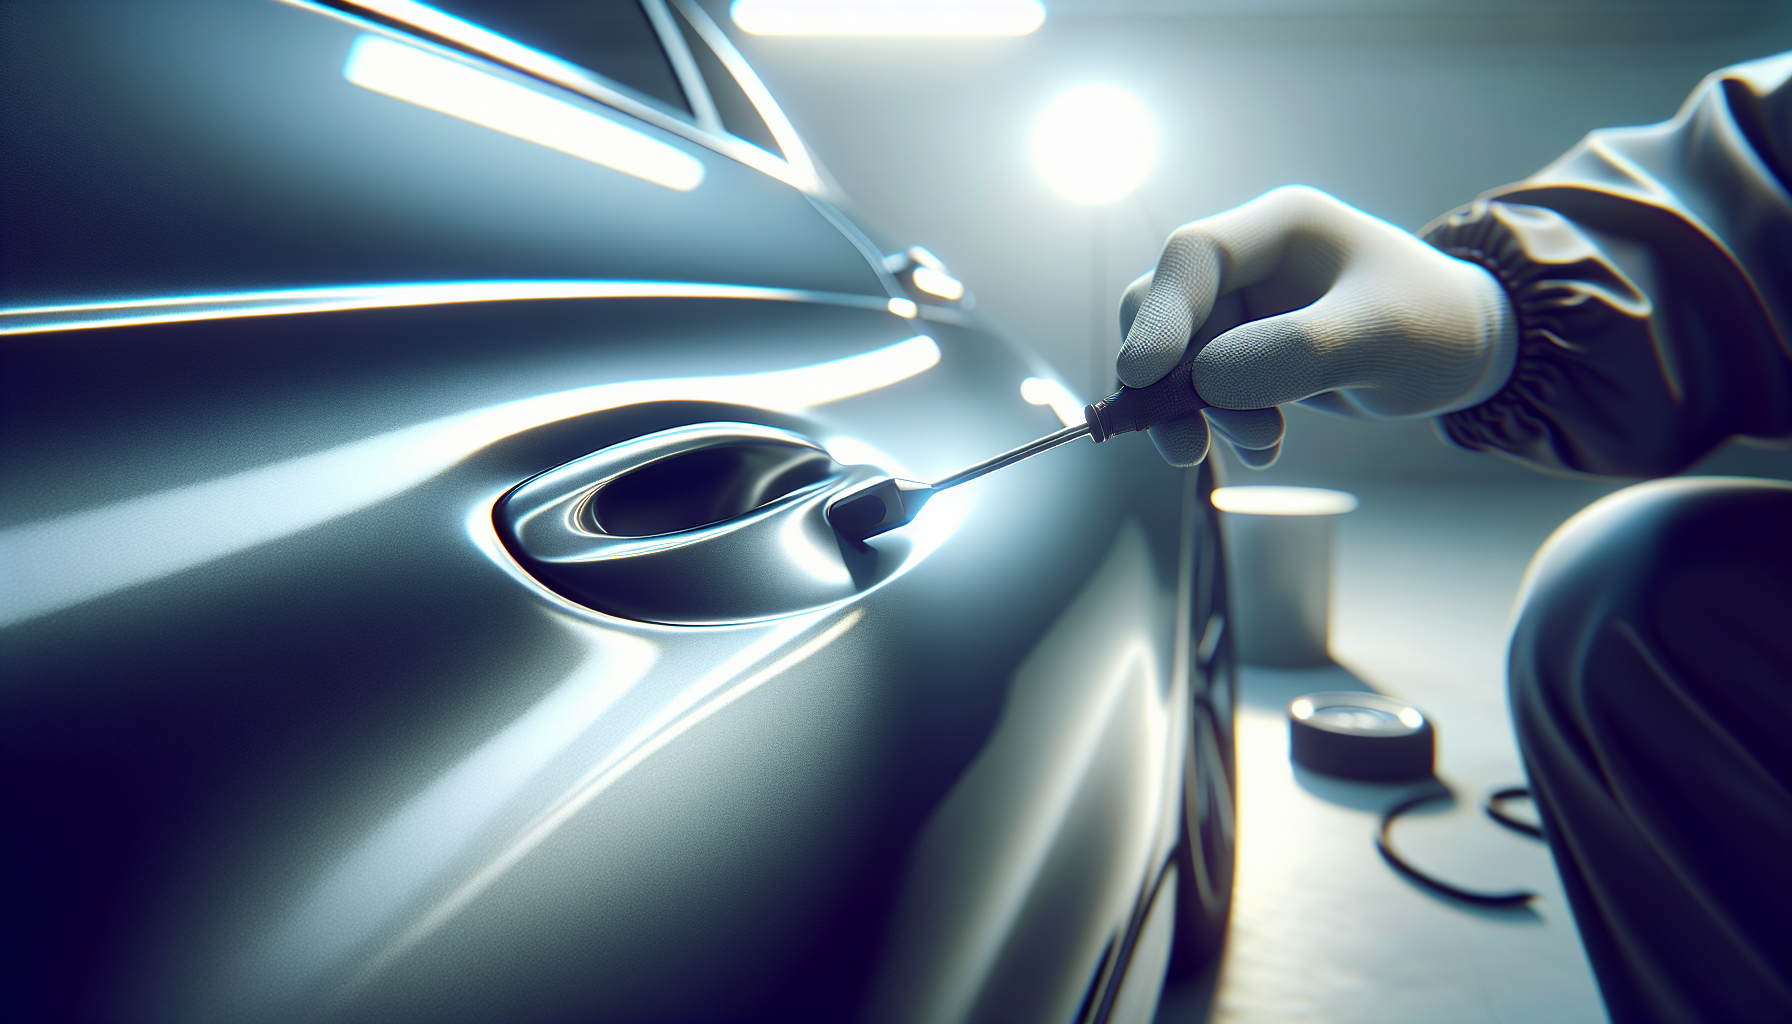
Step 4: Glue Pulling Method (Alternative Technique)
– Clean surface with alcohol-based cleaner
– Select appropriate sized glue pulling tab
– Apply specialized PDR glue
– Attach pulling tab to dent center
– Use slide hammer or specialized pulling tool
– Apply consistent, controlled pressure
– Gradually reduce dent depth
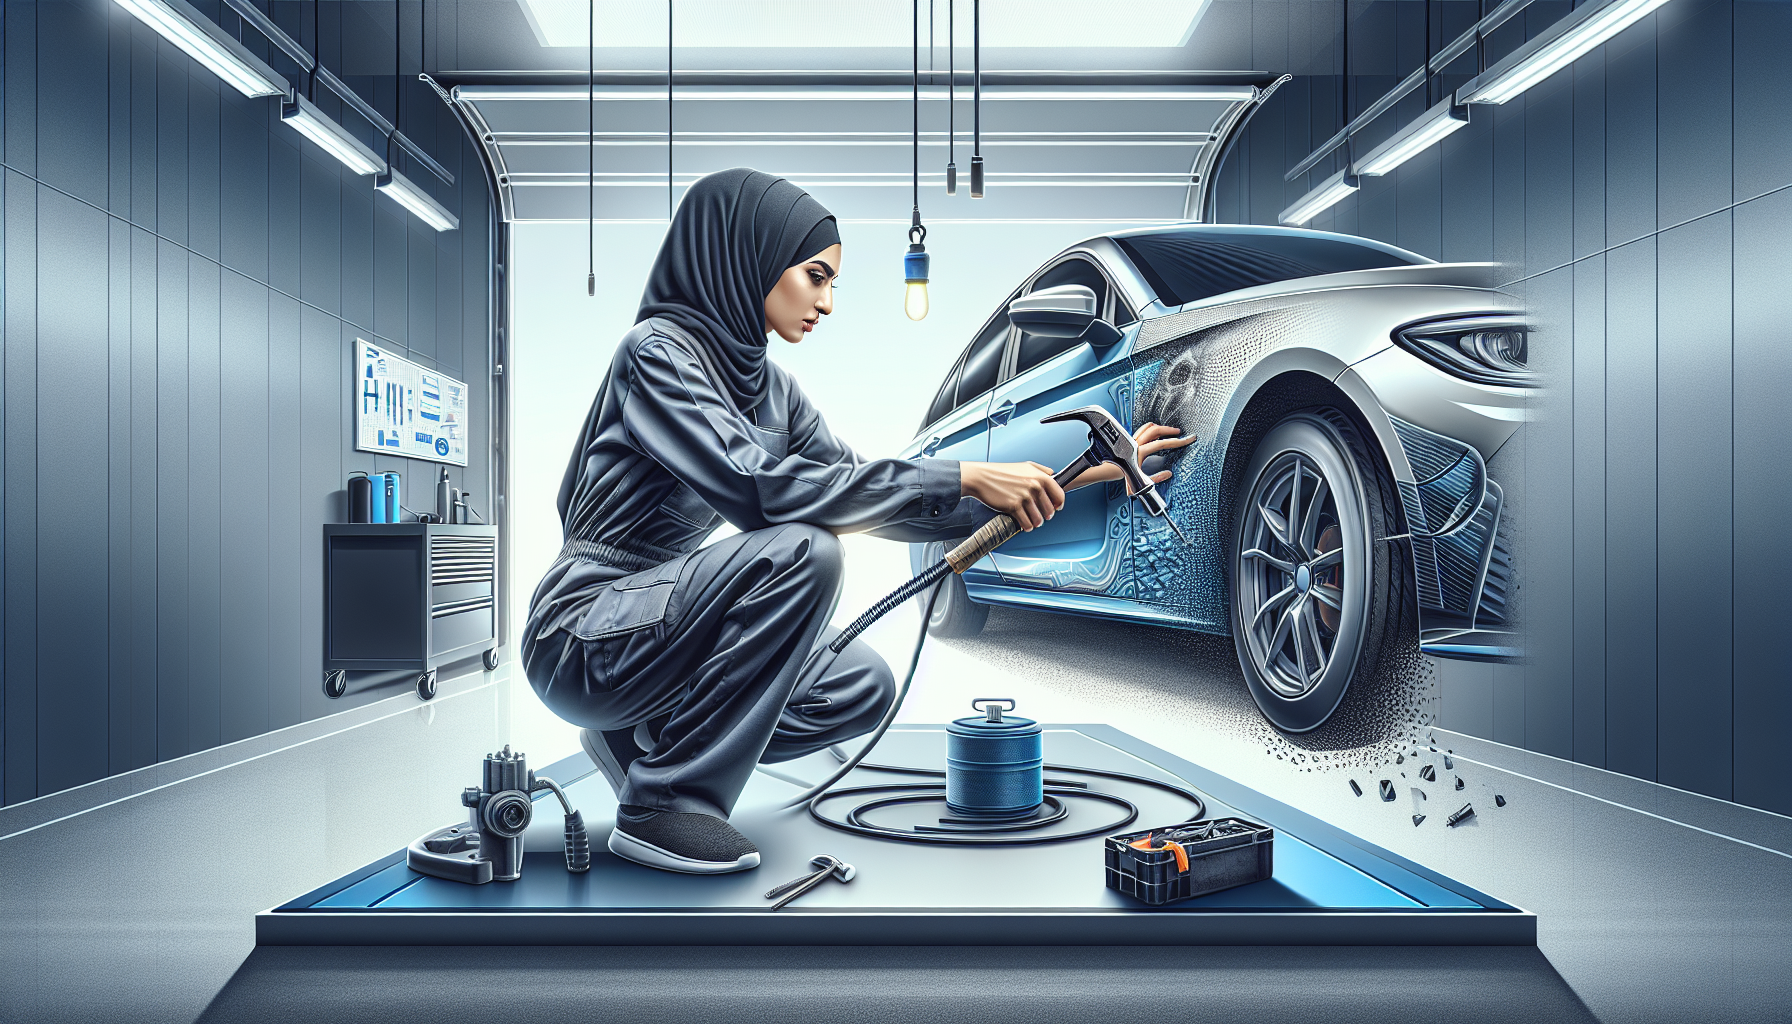
Step 5: Metal Pushing Technique
– Insert metal rods behind dent
– Use gentle, precise pressure
– Work from outer edges toward center
– Massage dent incrementally
– Maintain consistent, even pressure
– Rotate and adjust rod angles as needed
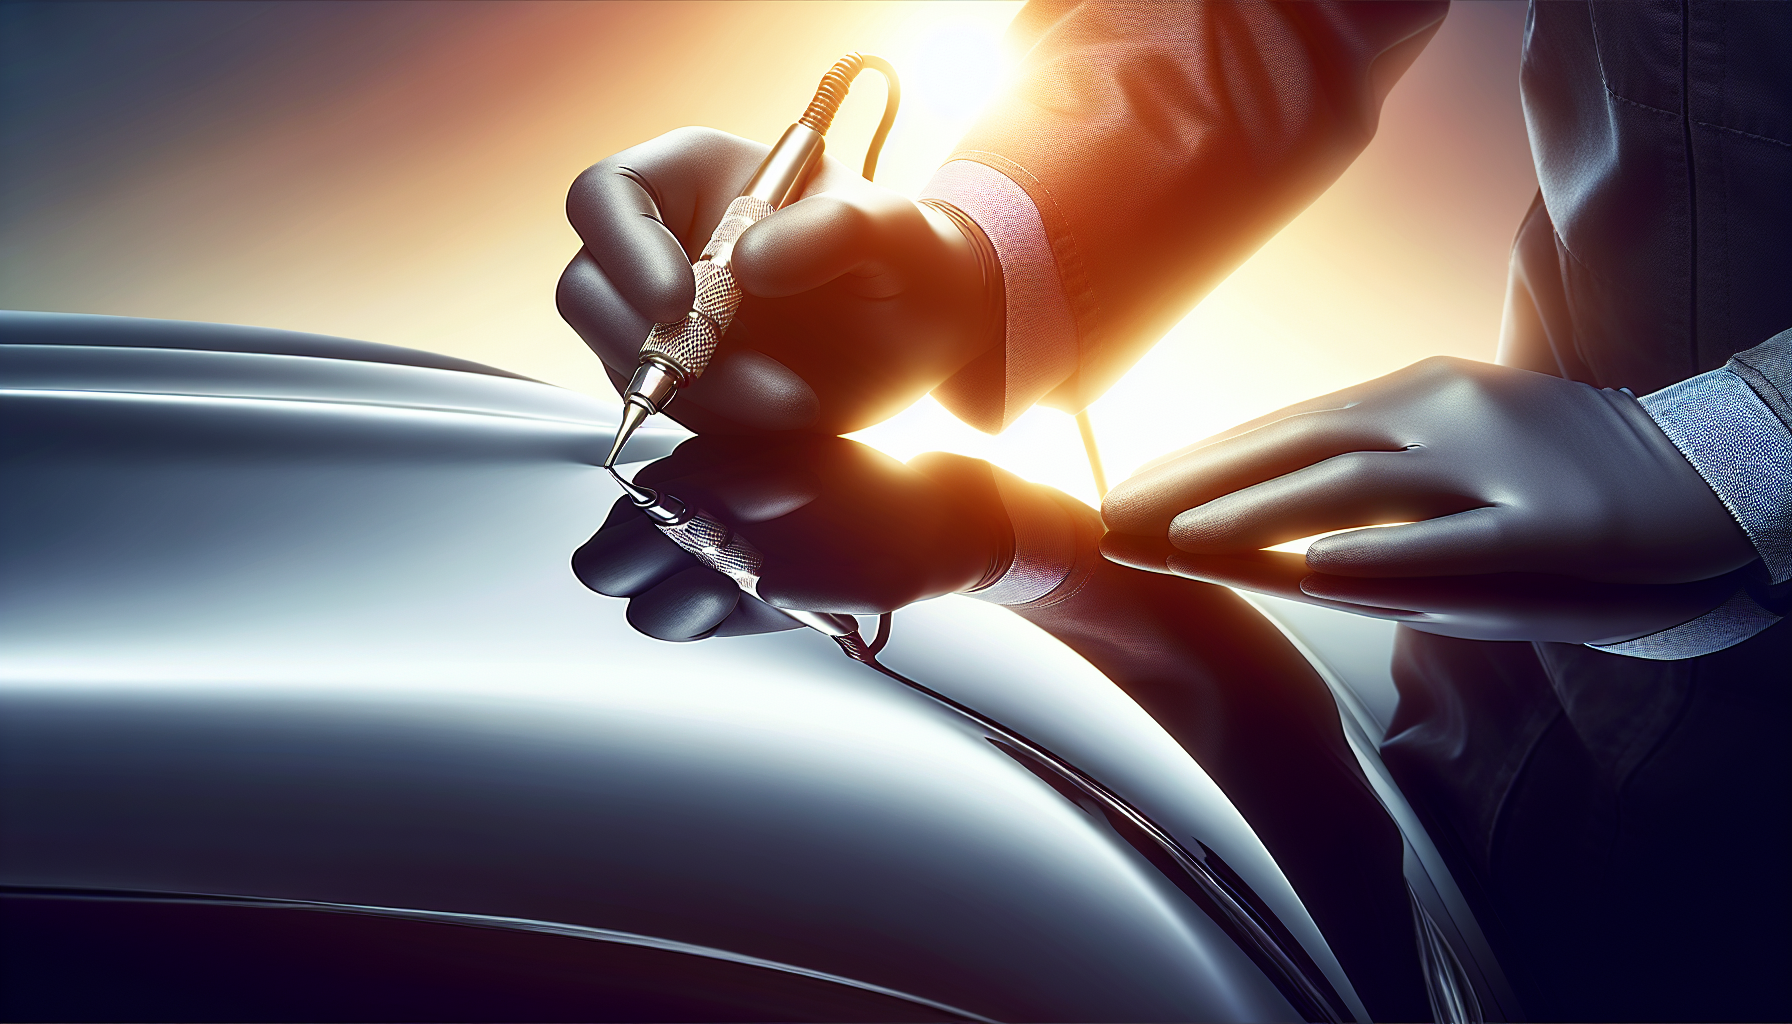
Step 6: Final Refinement
– Continuously check dent’s progress
– Use reflection board to verify smoothness
– Make small, calculated adjustments
– Avoid over-working the metal
Safety Precautions
– Wear protective gloves
– Work in well-ventilated area
– Use proper eye protection
– Take breaks to prevent hand fatigue
– Move slowly and deliberately
Common Mistakes to Avoid
– Applying excessive force
– Using incorrect tool angles
– Rushing the process
– Neglecting surface preparation
– Attempting repairs beyond skill level
When to Seek Professional Help
Consider professional assistance if:
– Dent involves paint damage
– Metal appears significantly stretched
– Complex curved surface
– Large dent diameter
– Lack of proper access points
[Demonstration Video Link: PDR Technique Tutorial]
Cost Comparison
DIY PDR Cost:
– Tools: $50-$200
– Potential Savings: 70-80% compared to professional repair
Professional Repair Cost:
– Average: $500-$2,500 depending on dent complexity
Final Thoughts
Paintless dent removal is an empowering skill for automotive enthusiasts. With patience, practice, and proper technique, you can restore your vehicle’s appearance professionally and cost-effectively.
Remember: “Precision, not force, is the key to successful dent repair.” – Automotive Restoration Expert
Keywords: dent repair, DIY auto body repair, DIY dent repair