# How to Use a Dent Puller Tool for Effective DIY Dent Repair
When it comes to DIY dent repair, one essential piece of equipment every auto body enthusiast should have in their arsenal is the **dent puller tool**. This straightforward yet powerful tool can help you salvage dings, creases, and shallow dents without the need for costly professional repairs. In this detailed step-by-step guide, I’ll walk you through exactly how to use a dent puller tool to restore your car’s surface to near-perfect condition.
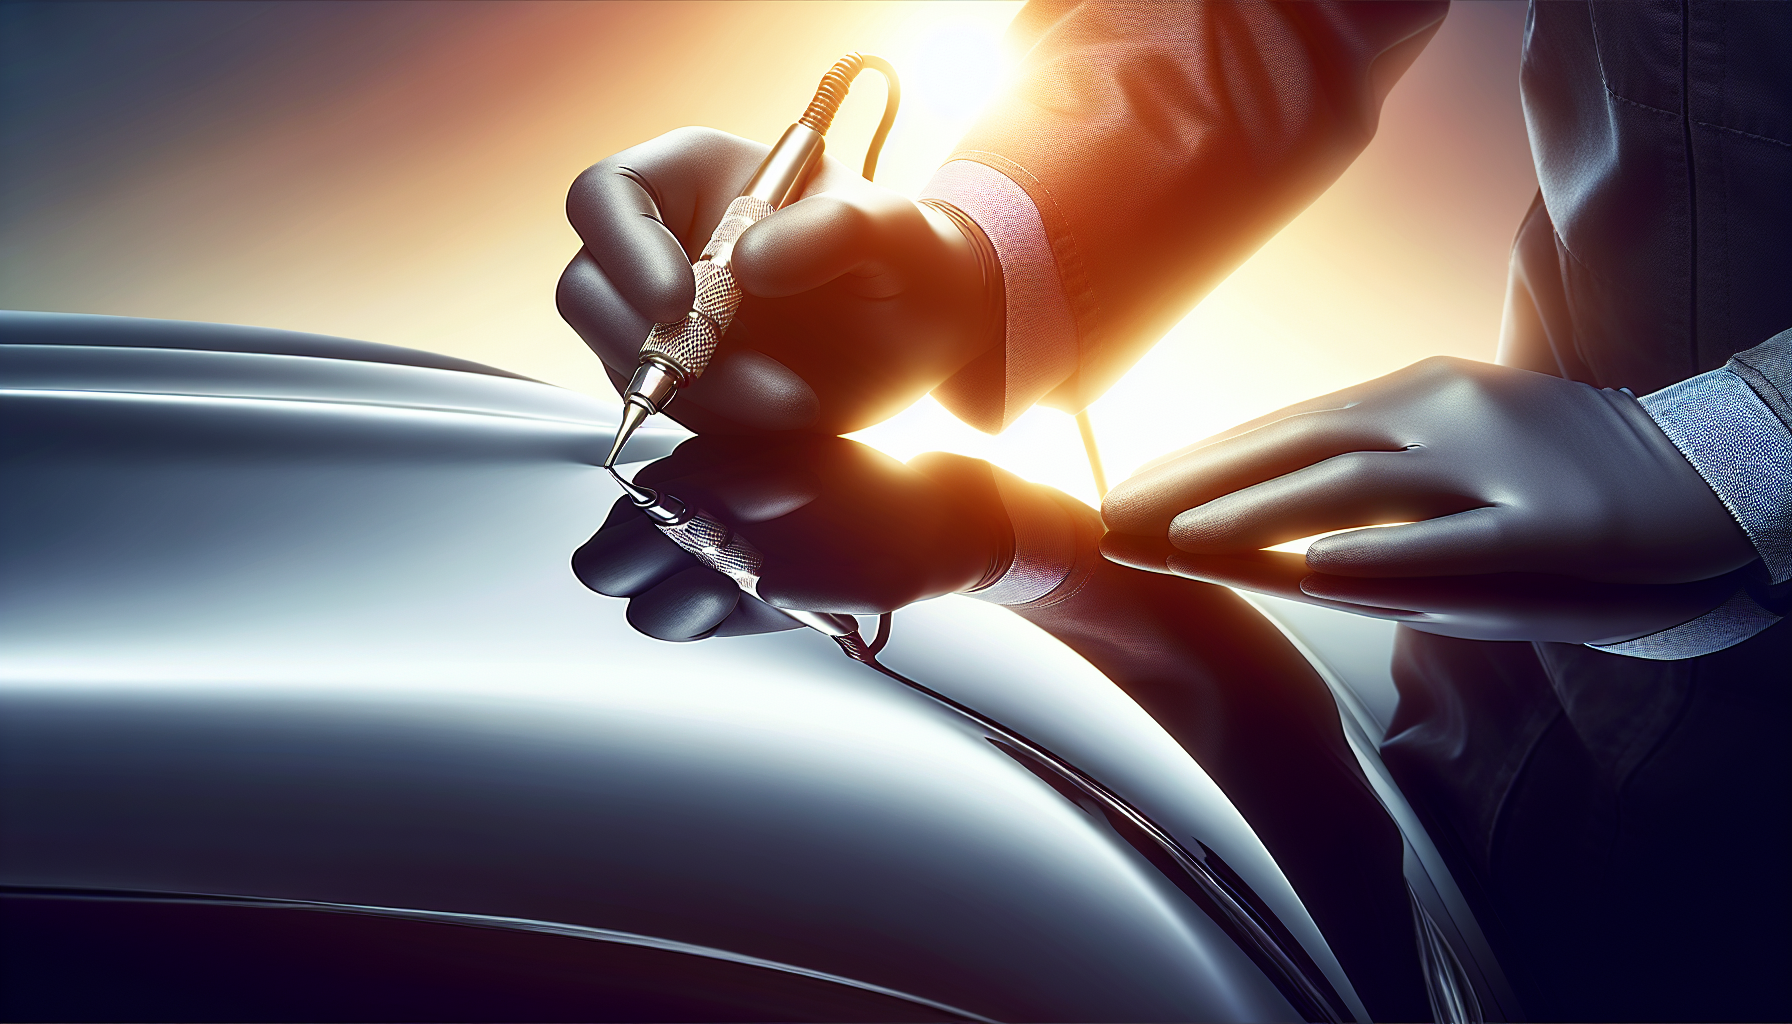
If you’re new to auto body repair, think of a dent puller as your go-to gadget for popping out dents by applying controlled suction or mechanical force. The best dent pullers are versatile, ergonomic, and compatible with various dent sizes. For a clear mental picture, check out this real image of a premium dent puller tool: [Dent Puller Tool Image](https://example.com/dent-puller-image).
Understanding the Dent Puller Tool
A dent puller tool generally comes in two main types: **suction cup dent pullers** and **glue pullers**. Suction cup pullers operate by creating a vacuum grip on the dented surface, then using leverage to pull the metal or plastic back into shape. Glue pullers use special hot-melt adhesive tabs attached around the dent’s perimeter and a pulling device connected to these tabs to tug the dent out safely.
These tools are most effective on small to medium-sized dents where the paint remains intact. They offer an accessible, cost-efficient option for DIYers to tackle damage from shopping cart bumps, hailstones, or minor parking lot incidents. Generally, the difficulty level ranges from **beginner to intermediate**, as the technique requires patience and precision but no specialized or heavy equipment.
Step 1: Assess the Dent and Prepare the Work Area
Start by thoroughly examining the dent you want to repair. Check for any cracks in the paint—if the paint is compromised, dent pullers might not be the best choice as pulling can worsen damage. Look for dents that are shallow with smooth curves rather than sharp creases.
Clean the affected area with soap and water, then dry it completely. Dirt and grease can prevent suction cups or glue tabs from sticking properly. If the dent is on a plastic bumper or composite panel, the puller will still work but with gentler pulling pressure—to avoid tearing the material.
Gather your dent puller tool along with the glue sticks (if using a glue puller), a plastic scraper, rubbing alcohol, and a heat gun or hairdryer for glue removal.
Step 2: Choose and Attach the Dent Puller
For **suction cup dent pullers**, moisten the suction pad with a bit of water to optimize the seal. Position the suction cup’s center directly over the middle of the dent, pressing firmly to remove any air gaps. Engage the puller’s handle or lever slowly to begin pulling the dent outward. You should feel resistance followed by a gentle pop as the metal moves.
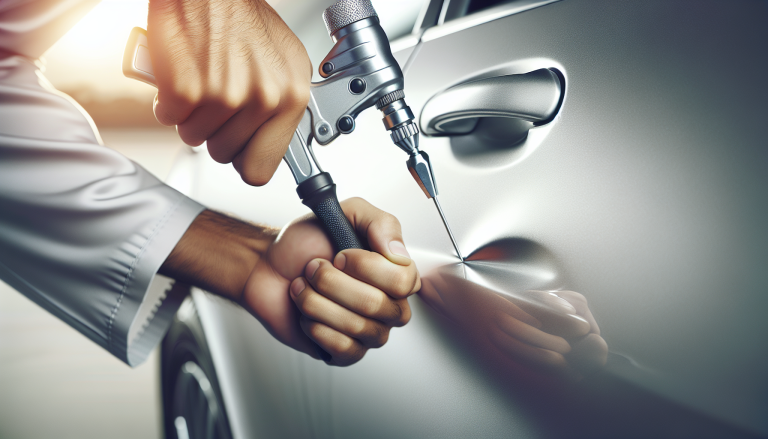
For **glue pullers**, apply the hot glue to the plastic tab’s flat side. Quickly press the tab onto the dent’s center and hold for 30 seconds so the glue cools and solidifies. Once set, attach the pulling bridge or slide hammer to the tab and begin applying even, incremental force. Slow and steady pulling decreases the chance of tearing paint or warping metal further.
Pro tip: Always work in small increments of pull force. Excessive or rapid tugs might cause more damage, especially on thin panels or plastic.
Step 3: Monitor the Dent Removal Progress
As you pull, step back intermittently to visually assess progress from multiple angles. Effective dent repair often requires several rounds of pulling and rechecking. If the dent begins to “lift” unevenly or forms additional high spots, release the puller and adjust your approach.
For stubborn dents, warming the panel slightly with a heat gun can relax the metal fibers, increasing flexibility and enhancing puller effectiveness. However, avoid overheating, which can damage paint.
If you notice that the dent is nearly gone but some low spots remain, minor tapping or hammering with a small body hammer and dolly set may help. This blends the repaired area naturally with the rest of the panel.
Step 4: Removing Glue Residue and Finishing Touches
If you used a glue puller, don’t rush glue removal. Use a plastic scraper to gently lift glue from the surface to avoid scratching the paint. Applying rubbing alcohol or a dedicated adhesive remover with a soft cloth dissolves residual glue effectively.
Once the dent is pulled as smooth as possible, you may notice slight imperfections in the paint. For optimal results, consider following up with light sanding and touch-up paint or wet sanding and polishing if you have the skills and tools.
Finally, clean the entire area once more and inspect the repair thoroughly. A well-executed dent pull with proper technique can reduce dents dramatically without the hassle of body filler or repainting.
Types of Dents Best Suited for Dent Puller Tools
– **Shallow dents with minor depth** – the tool excels here by lifting the panel gently.
– **Dents without paint damage** – pulling can safely restore these without paint cracking.
– **Rounded dents** – dent pullers work better on smooth or elliptical dents than sharp creases.
– **Auto body panels made of steel or aluminum** – standard panels respond best to pulling.
– **Plastic bumpers and trims** (with care to avoid excess force).
Avoid dent pullers for dents with torn metal, sharp creases, deep ragged damage, or any paint that’s flaking as pulling might exacerbate the problem.
Difficulty Level and Final Tips
Dent puller tools rate as **beginner to intermediate** in difficulty mainly because they require patience and a bit of finesse. Beginners should practice on scrap panels or test dents to get a feel for the pulling pressure.
– Always follow manufacturer instructions for your specific puller model.
– Work in a shaded, dust-free environment to ensure glue sticks and suction cups maintain strong adhesion.
– Use gradual, controlled force — pulling too hard risks paint damage or panel warping.
– Have patience—sometimes multiple sessions spaced over hours yield the best results.
– Pair dent pulling with light hammer and dolly work for polished finishes.
By mastering this one versatile **tool**, you can confidently take on a wide range of dent repair jobs in your garage. With practice, the dent puller will save you time, money, and trips to the body shop — making it a must-have for all DIY dent repair enthusiasts focused on professional-looking auto body results.