PDR (Paintless Dent Repair): A Precise DIY Dent Repair Technique
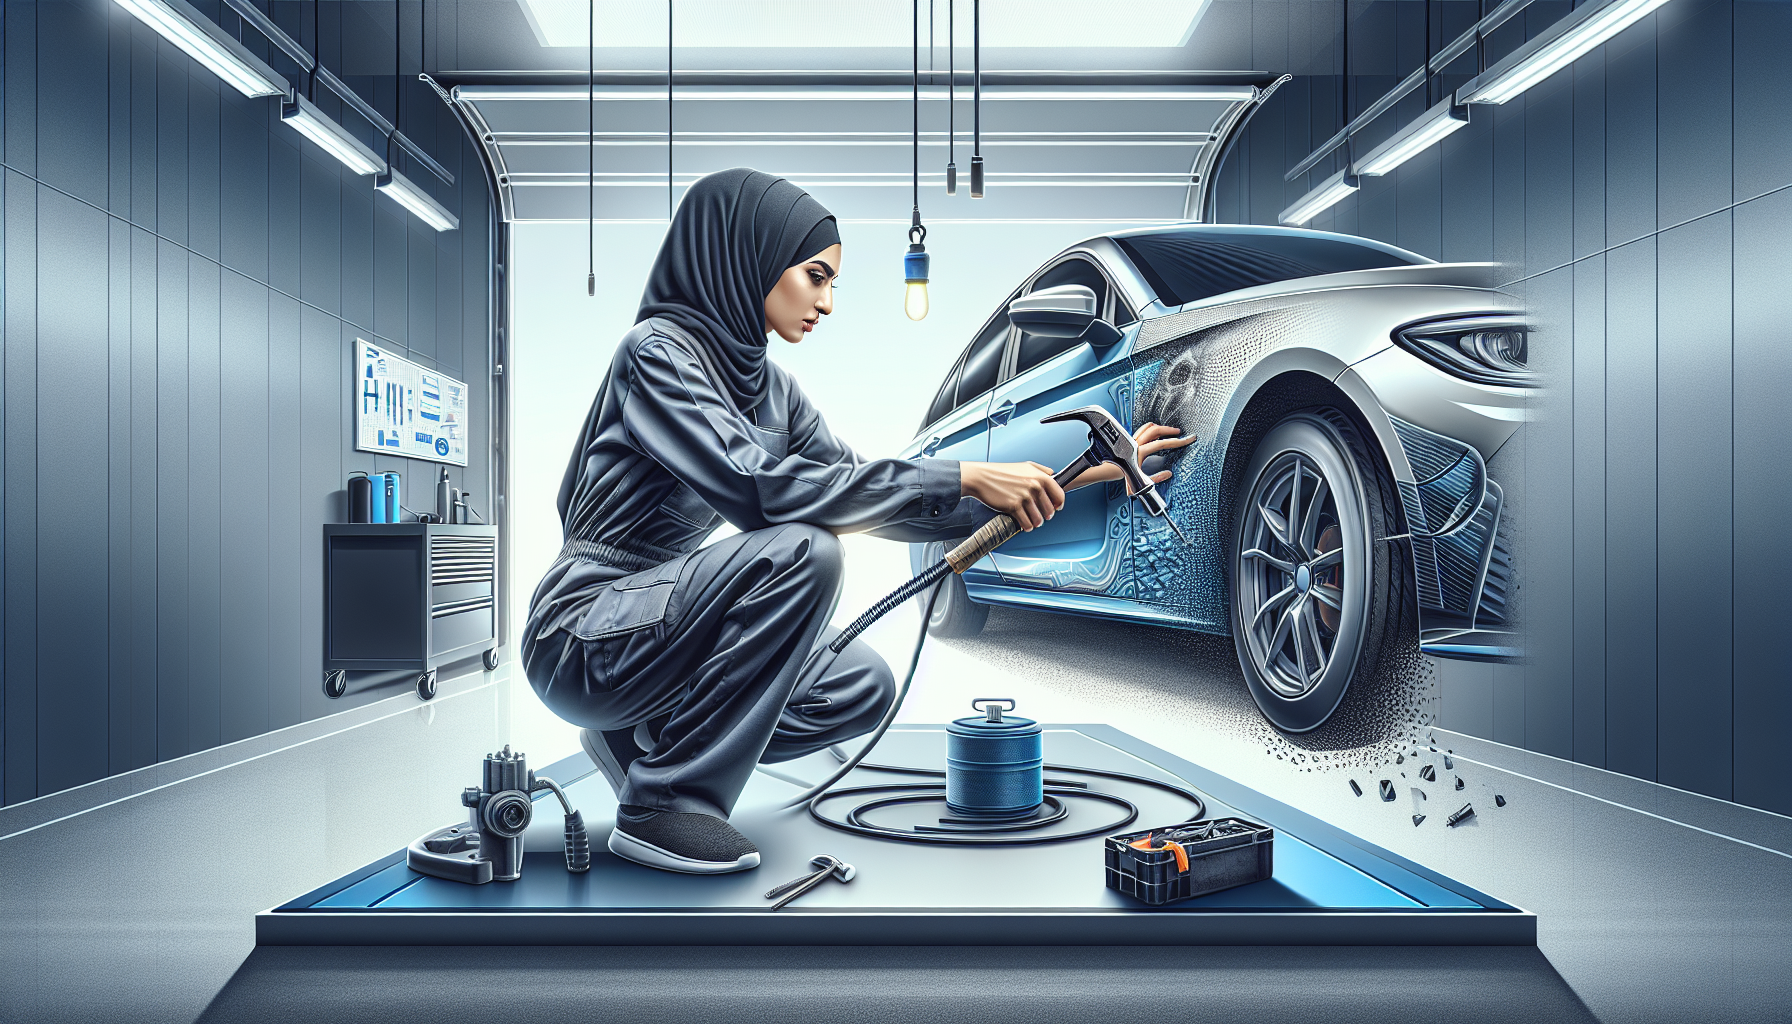
Paintless Dent Repair (PDR) is a highly effective method for removing minor dents and dings from automotive bodies without affecting the original paint finish. Ideal for shallow dents caused by hail, door dings, or small creases, PDR maintains the factory paint intact, preserving your vehicle’s value. The technique involves massaging the metal back to its original shape using specialized tools from behind the dent. This is an intermediate-difficulty repair that demands patience, precision, and the right tools, but with a careful approach, it is achievable as a DIY auto body repair project.
Tools and Materials Needed for DIY PDR
– PDR rods and picks set (various shapes and sizes for different applications)
– Glue puller kit (including glue sticks, glue gun, and pulling tabs)
– Knockdown tool or tap down pen
– Dent removal light or LED reflection board (to visualize the dents clearly)
– Heat gun or hairdryer (optional, for warming metal in cold conditions)
– Cleaning alcohol and lint-free cloths
– Safety gloves and eye protection
Step-by-Step Guide to DIY Paintless Dent Repair
1. **Assess the Damage**
Begin by examining the dent thoroughly under natural light or a PDR reflection board. PDR works best on dents where the paint is not cracked, chipped, or heavily scratched, and the metal is only bent slightly inward. Avoid PDR for large, sharp creases or deep dents with torn metal.
2. **Access the Backside of the Dent**
Open the vehicle’s hood, trunk, or interior panel to gain access behind the dent. Some dents are accessible through removable plastic panels or wheel wells. If you cannot reach the backside, use the glue pulling method, which pulls the dent outward from the front surface.
3. **Prepare the Work Area**
Clean the dent surface and the surrounding area with alcohol to remove waxes and contaminants. This ensures the glue adheres firmly when using glue pulling techniques and helps you see the dent lines more clearly.
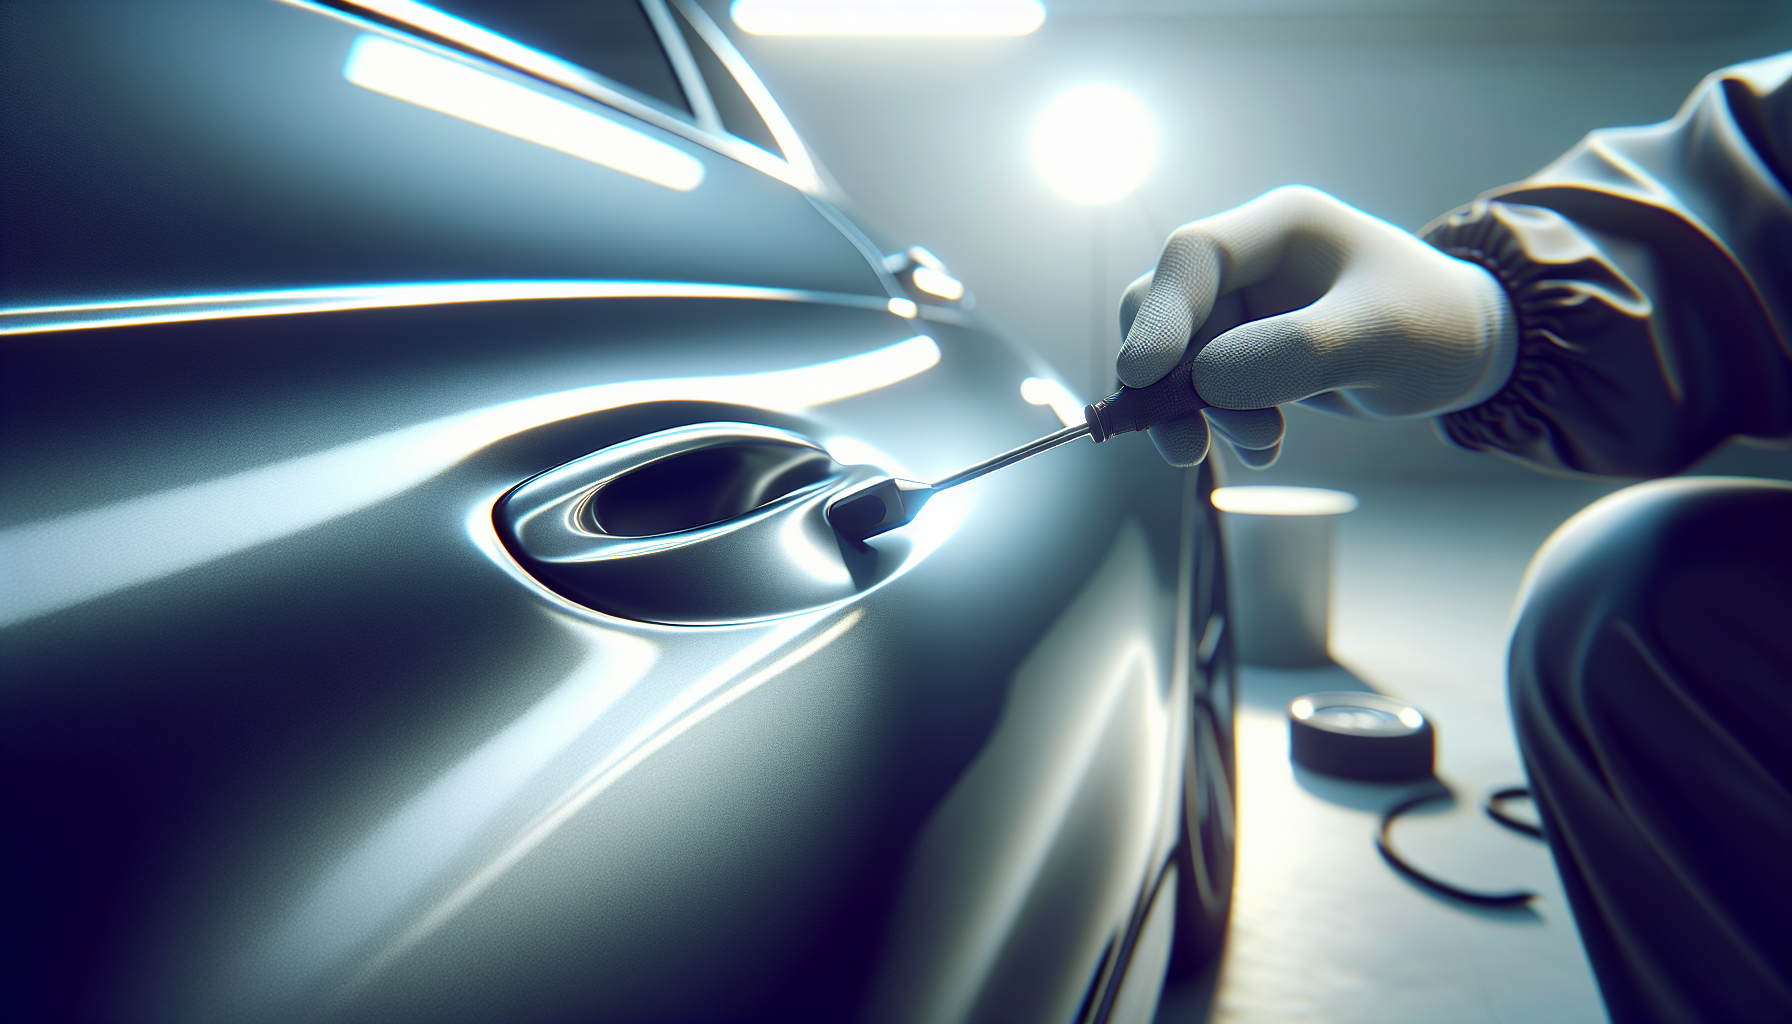
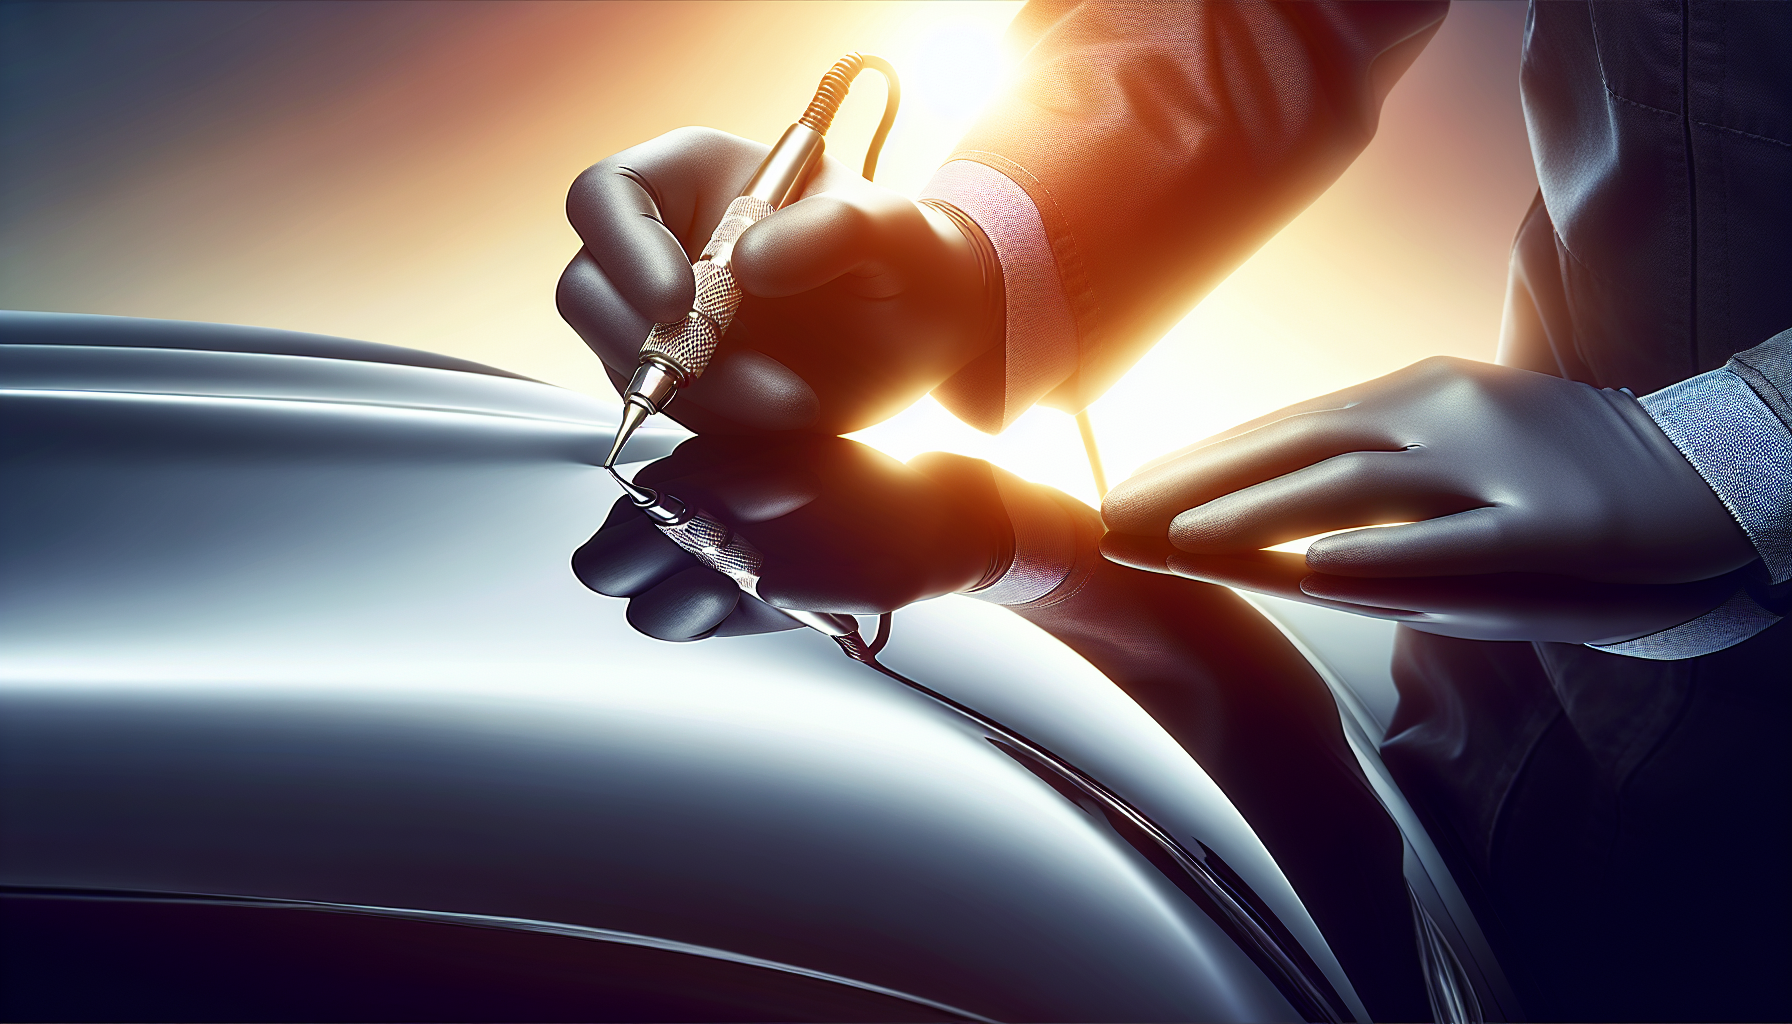
4. **Using PDR Rods to Push Out the Dent**
Insert the appropriately shaped PDR rod behind the dent area supporting the metal gently. Apply slow, steady pressure to massage out the dent by working from the outer edges inward. Use the reflection board to monitor progress continuously, ensuring the metal returns to a smooth contour without over-pushing.
5. **Employ Glue Pulling for Difficult Access**
If you cannot access the backside, use the glue pulling technique:
– Heat the area slightly using a heat gun or hairdryer to allow better glue adhesion.
– Apply a small amount of hot glue to a plastic pulling tab.
– Press the tab firmly onto the center of the dent and let the glue cool and bond.
– Attach the pulling device to the tab and gently pull outward to pop the dent back.
– After pulling, remove the glue residue using alcohol and a lint-free cloth.
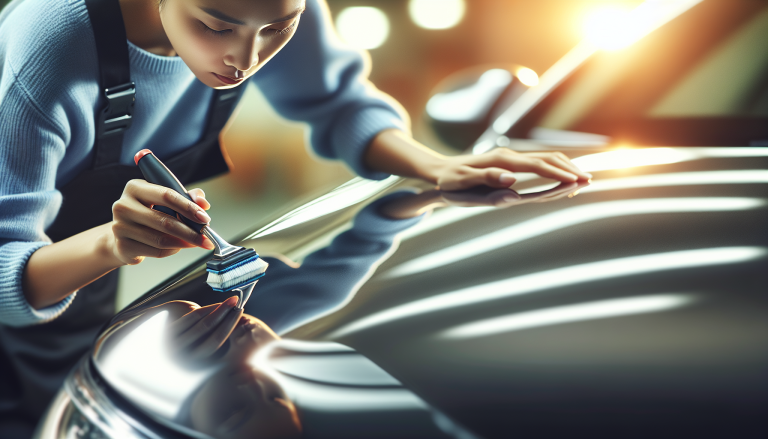
6. **Fine-Tune with Tap Down Tools**
In some cases, the dent repair will leave small high spots or stretched metal areas. Use a knockdown tool or tap down pen to gently tap these areas back into line. Strike lightly and check progress under the reflection board to avoid creating new marks.
7. **Repeat and Refine**
Dent repair is a process of iteration. Repeatedly push, pull, and tap down as necessary while monitoring the dent’s shape. Patience is vital since rushing can cause more damage or stretch the panel irreparably.
8. **Final Inspection and Cleaning**
Once the dent is completely smooth and flush, wipe the repaired area with a clean cloth to remove any residual dirt, dust, or glue. Inspect the paint carefully to verify it remains intact with no cracking, bubbles, or peeling.
Safety and Prep Tips for Successful DIY Dent Repair
– Always wear safety glasses and gloves when handling tools, especially PDR rods and glue guns.
– Work in a well-lit space with plenty of ventilation.
– Avoid extreme temperatures which can make paint brittle or glue difficult to work with.
– Be gentle and gradual in your movements; aggressive pushing or pulling can crack the paint or warp metal.
– Keep an emergency paint touch-up kit nearby in case minor paint flaws appear during the repair.
Difficulty Level and Damage Suitability
PDR is best suited for dents up to about 2 inches in diameter and shallow depth—think small door dings, minor crease marks, and hail damage. Repairing these dents yourself can be moderately challenging; it requires detailed motor skills, patience, and the ability to read subtle reflections to identify problem areas. With practice, even beginners can tackle smaller dents successfully.
“This process turns what seems like an impossible dent into a simple matter of patience and the right pressure,” as many seasoned technicians attest.
Why Choose DIY Paintless Dent Repair?
Opting to perform DIY dent repair using PDR techniques saves money on costly body shop services and helps maintain your vehicle’s original paint. Unlike filling and repainting, PDR preserves factory finish integrity, which is vital for vehicle resale. The specialized tools are a worthwhile investment for car enthusiasts and DIYers wanting professional-grade results at home.
Whether you want to learn a useful auto body skill or just fix a pesky door ding, PDR offers an accessible, efficient way to address dents that don’t require repainting. Armed with the right tools, clear reflection lighting, and a commitment to careful technique, you can bring your car’s surface back to flawless form yourself.