# How to Use a Paintless Dent Repair (PDR) Kit for DIY Dent Repair
When it comes to DIY dent repair, having the right tool makes all the difference between a successful fix and a frustrating experience. One of the most versatile and efficient pieces of equipment for repairing minor to moderate auto body dents is a Paintless Dent Repair (PDR) Kit. This tool allows you to restore your vehicle’s surface without damaging the factory paint, preserving the original finish and saving you money on costly body shop work.
Here’s a detailed step-by-step guide on how to use a PDR kit for various types of dents, along with a description of the tool and tips to master its use.
What is a Paintless Dent Repair (PDR) Kit?
A Paintless Dent Repair Kit typically includes a selection of specialized rods, hooks, and sometimes glue pulling tools, designed to gently massage dents out from the inside of the vehicle’s panels. By carefully pushing or pulling the dent back into place, you can repair dings and creases without sanding, filling, or repainting.
The key advantage of a PDR kit is its ability to fix dents without damaging the original paint, which is something traditional dent repair methods often compromise. This kit is perfect for small to moderately sized dents caused by door dings, hail damage, or minor collisions.
Here’s a real image of a typical PDR kit:
[Paintless Dent Repair Kit Image](https://www.autodenttools.com/image/cache/catalog/pdr-tools-dent-removal-kit-600×600.jpg)
Types of Damage Suitable for a PDR Kit
– Small to medium-sized dents with no paint damage
– Dents with smooth contours (typical door dings and roof dents)
– Shallow creases and minor hail damage
Avoid using a PDR kit if the paint is cracked, if the dent is too sharp or deep, or if there is any metal stretching, as these require more advanced repair techniques.
Difficulty level: Moderate. Some patience and practice are necessary, but this tool is very approachable for the DIY enthusiast willing to learn.
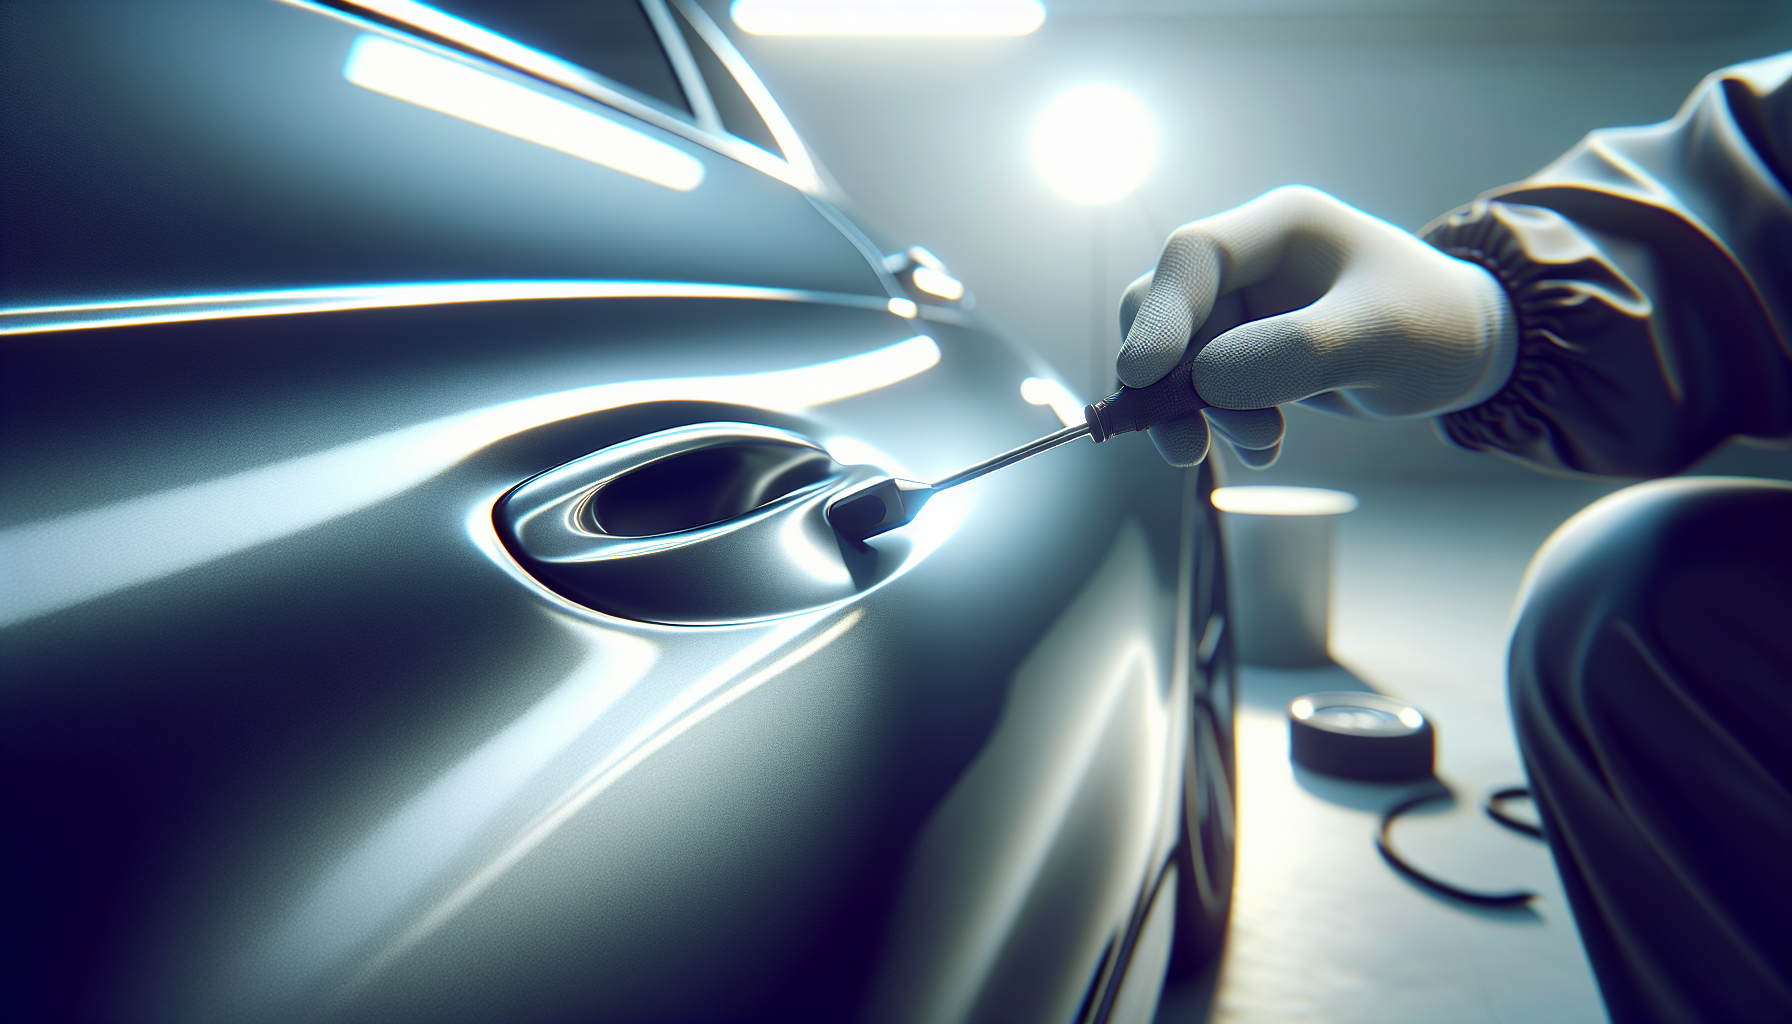
Step 1: Assess the Damage and Access the Dent
Begin by thoroughly inspecting the dent. Good lighting and a reflection board or bright flashlight can help highlight the dent’s contours. Identify if there is a direct access point behind the dent (such as via a door panel opening, trunk, or wheel well). The PDR rods work best when you can reach the backside of the dent.
If the dent is on a tricky panel, you may need to remove trim pieces, weather stripping, or interior panels to gain access.
Step 2: Select the Appropriate PDR Rod or Hook
PDR kits come with various shaped rods and hooks designed for different panels and dent types. Choose a rod that fits comfortably behind the dent and allows you to apply pressure precisely at the dent’s lowest point without damaging the panel edges.
For larger, shallow dents, wider, flatter rods work best. For smaller creases, sharper hooks provide the needed precision.
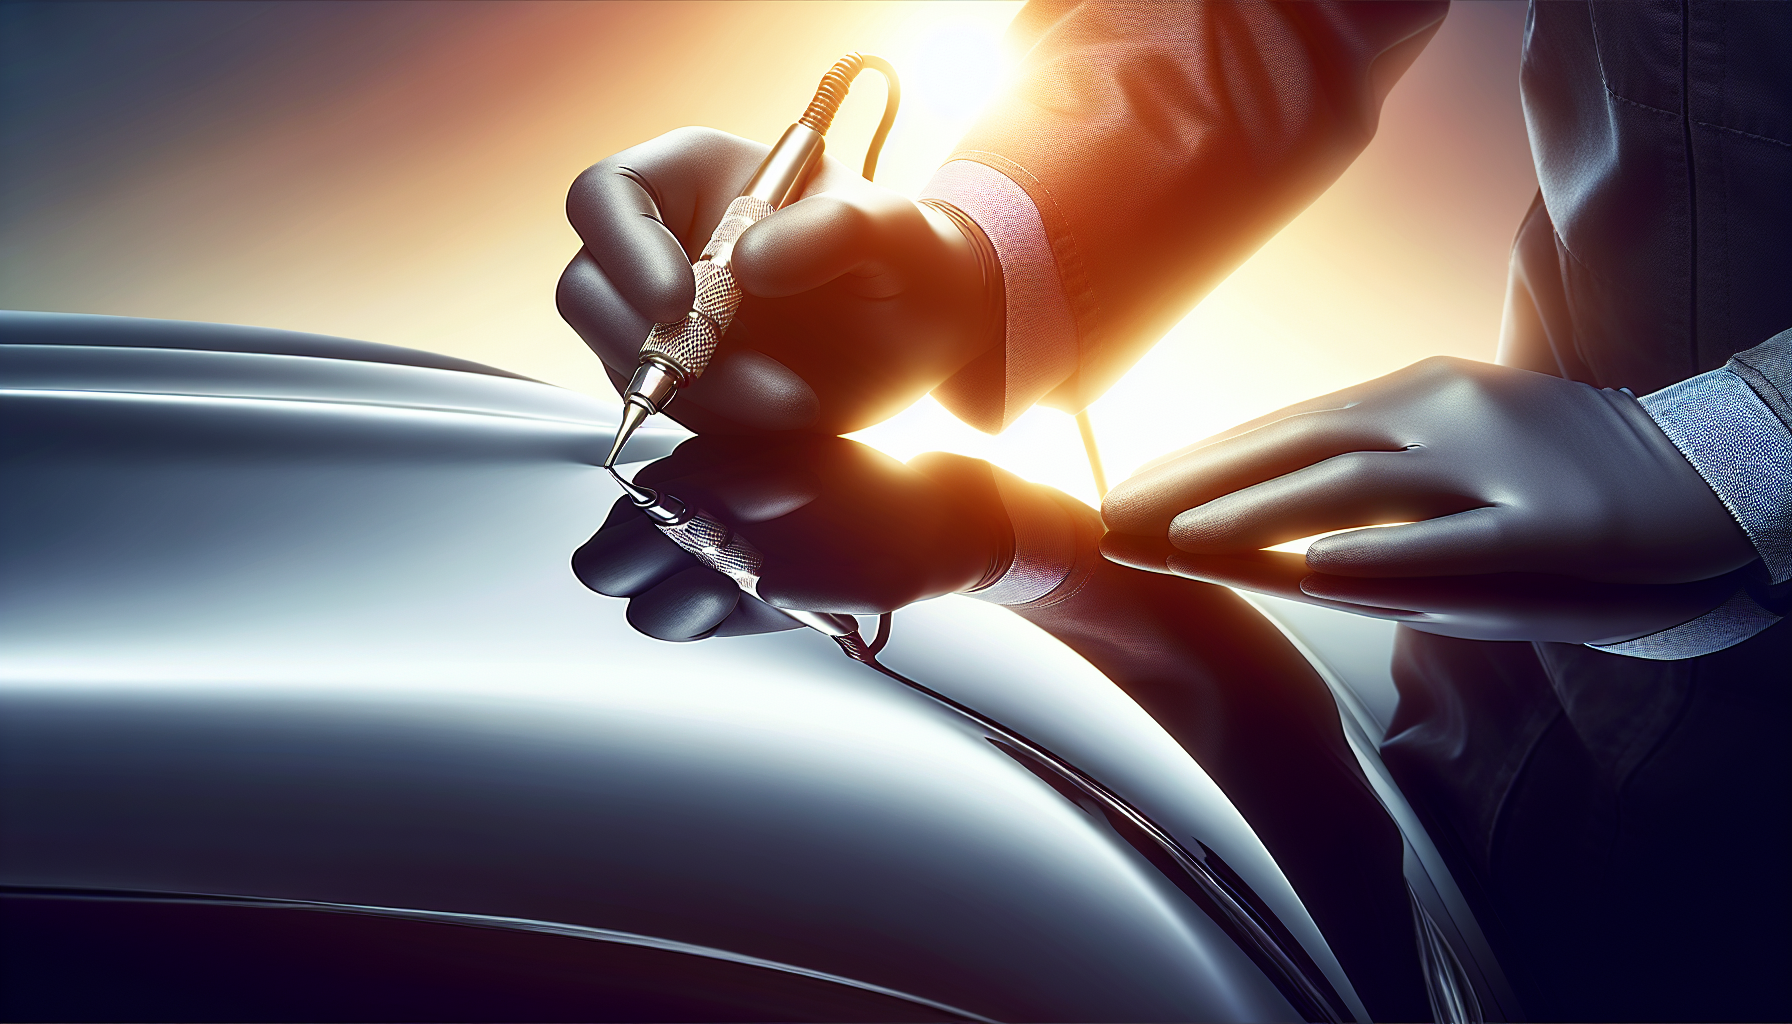
Step 3: Begin to Push Out the Dent
With the rod securely behind the dent, start applying gentle pressure right at the center of the dent. Slowly push the metal outwards toward the original surface contour. Always work incrementally—industrial results come from small, repeated adjustments rather than forceful pushing.
Use your free hand or a small knockdown tool and hammer on the exterior surface to gently tap down any high spots or wrinkles resulting from the pushing process.
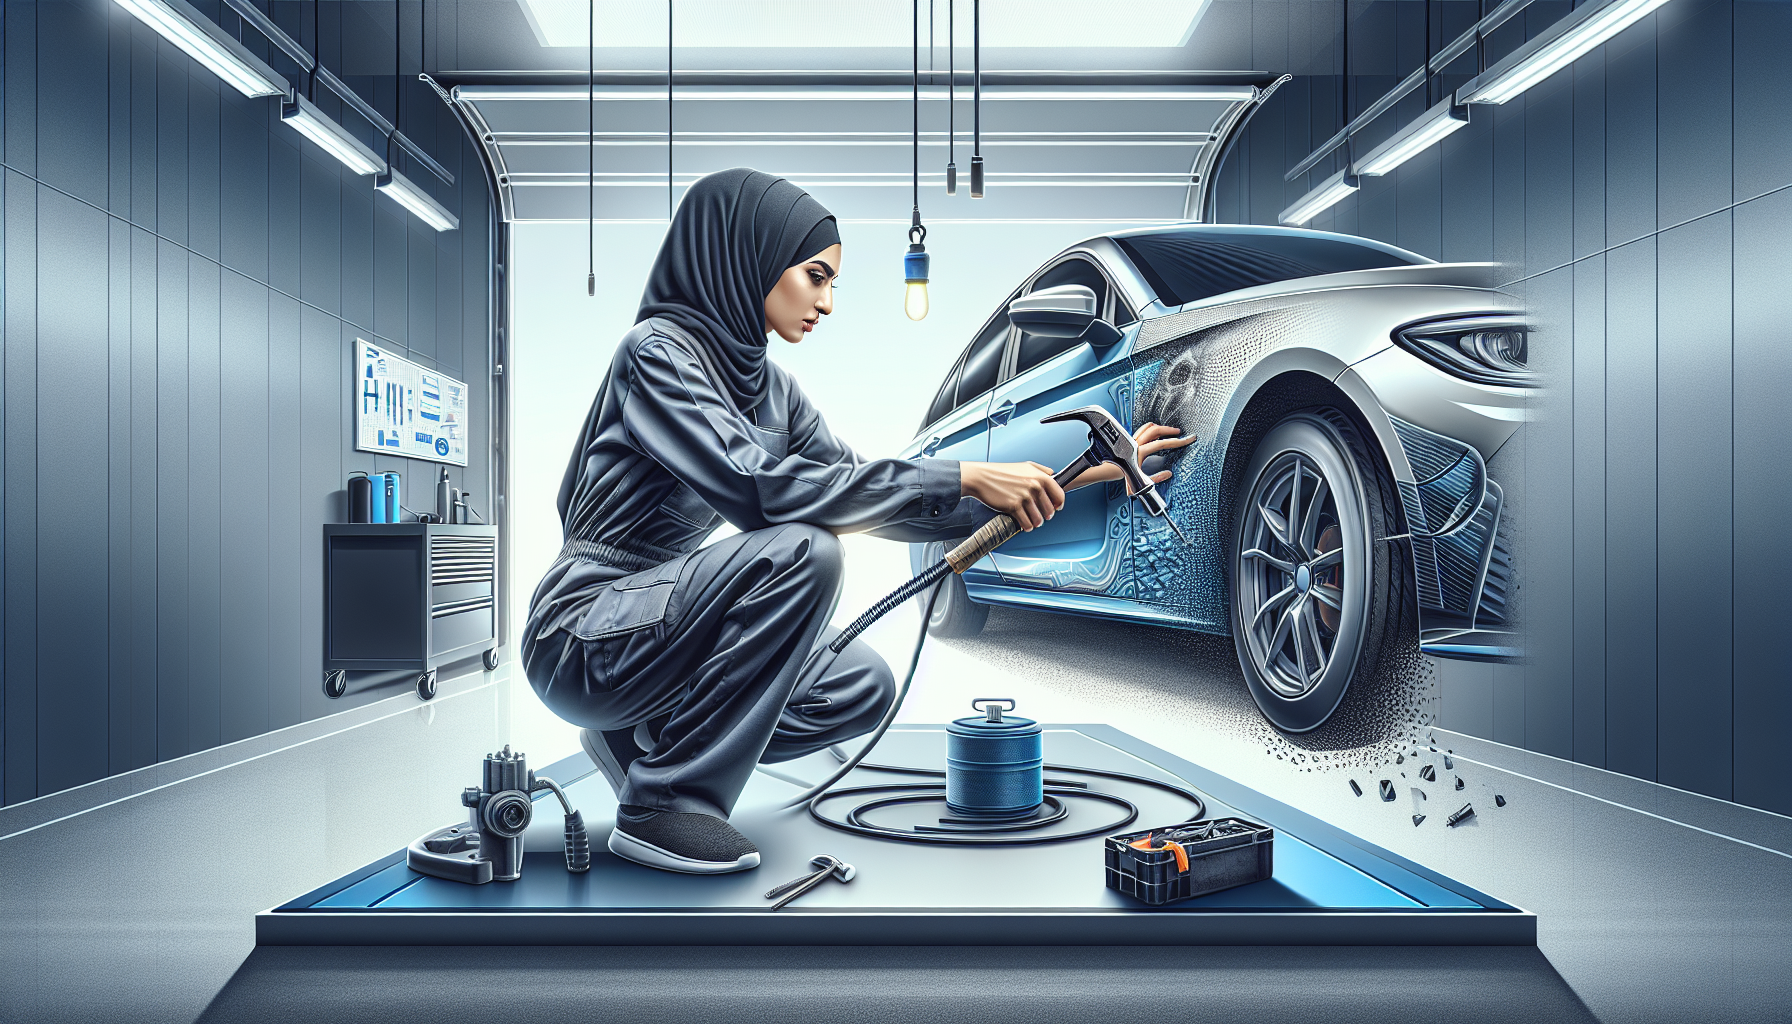
Step 4: Use Glue Pulling Tools for Hard-to-Reach Dents
If you cannot access the backside of the dent, most PDR kits include glue pullers. These accessories use hot glue to attach customized tabs to the dent’s surface. Once the glue sets, a pulling bridge or slide hammer pulls the dent back to the level of the surrounding paint.
Steps to use glue pullers:
1. Clean the dent surface thoroughly.
2. Apply hot glue to the pulling tab.
3. Attach the tab to the center of the dent and allow glue to cool (usually 5-10 minutes).
4. Use the pulling tool to gently pull the dent outward.
5. Remove the glue residue with an adhesive remover after pulling.
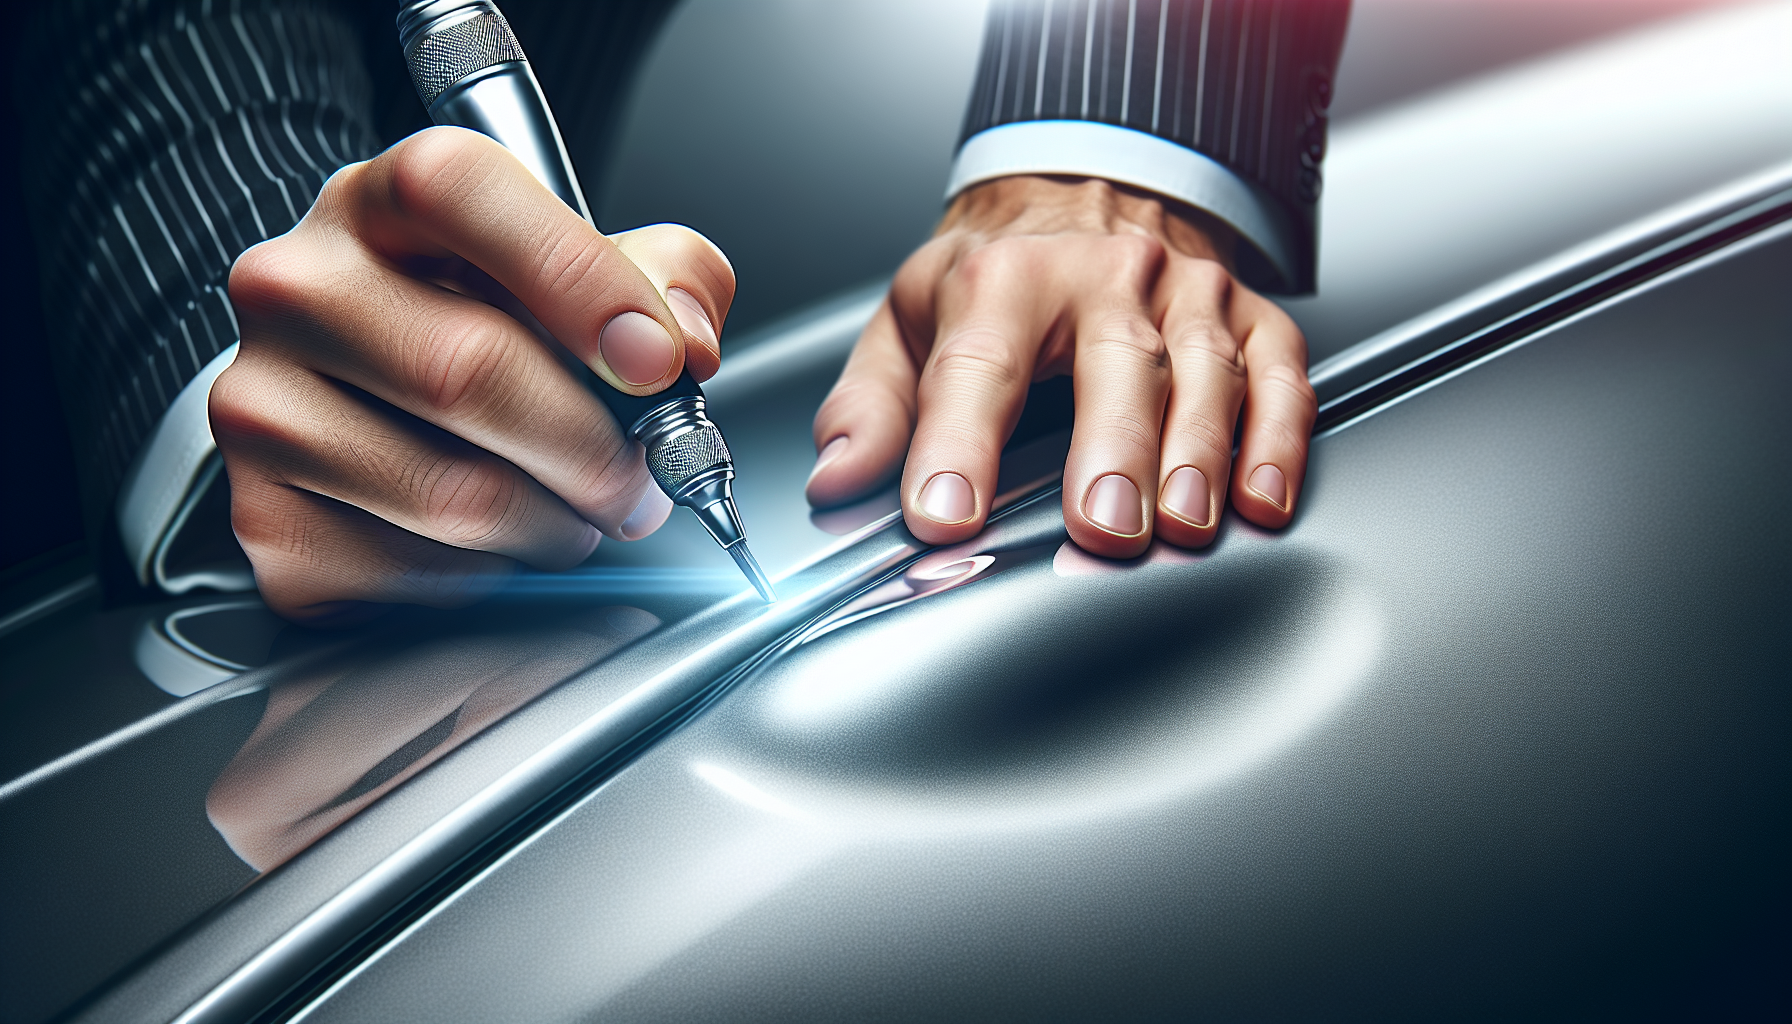
Step 5: Refine the Repair
After pushing or pulling the dent to near flatness, inspect the panel for remaining imperfections like slight waves or edges. Use the tap-down tools included in the kit to gently tap down these areas on the outside, providing a smooth finish.
Take your time here. The precision of paintless dent repair relies on delicate adjustments, especially when achieving a glossy, professional-looking surface that matches the factory finish.
Step 6: Clean and Polish the Area
Once the dent is fully repaired, clean the area with a microfiber cloth and a mild cleaner to remove any dust, glue residue, or fingerprints. Polishing the panel lightly can restore the shine and blend the repair seamlessly into the surrounding paint.
Tips to Maximize Your Success with a PDR Kit
– Always use adequate lighting to monitor progress and avoid over-correcting.
– Patience is key—small adjustments yield the best results.
– Practice on scrap metal panels or less visible areas first to build confidence.
– Invest in a quality PDR kit with a variety of rods and pulling accessories tailored for different panels.
– Use heat (from a heat gun or warm water) to make metal more pliable in colder environments, but avoid overheating to prevent paint damage.
Common Mistakes to Avoid
– Applying excessive force that distorts the metal beyond easy repair.
– Neglecting to secure proper access behind the dent.
– Rushing and skipping small detail work that provides professional finish.
– Using glue pulling on cracked or chipped paint, which can worsen the issue.
Final Thoughts
A Paintless Dent Repair Kit is one of the most valuable pieces of equipment in any DIY dent repair toolkit. With this tool, you’ll save money, preserve your vehicle’s factory paint, and gain the satisfaction of restoring your car’s surface to near-perfect condition.
“Mastering the PDR kit transforms dent repair from a daunting task into a rewarding skill.”
For DIY auto body repair enthusiasts aiming to step up their dent repair game, investing a little time and effort in learning how to expertly wield a PDR kit pays tremendous dividends. You get professional results, keep your auto body pristine, and enhance your confidence to tackle more complex repairs in the future.