When it comes to DIY dent repair on your vehicle’s auto body, having the right tool can be the difference between a professional-looking finish and a frustrating, uneven job. Among the most effective and accessible pieces of equipment for amateur auto body enthusiasts is the **glue puller**. This tool is designed specifically to tackle small to medium dents without the need for disassembling panels or advanced techniques like welding. Today, I’ll walk you through how to use a glue puller for various dent repair scenarios so you can save both time and money while achieving impressive results.
What is a Glue Puller and How Does It Work?
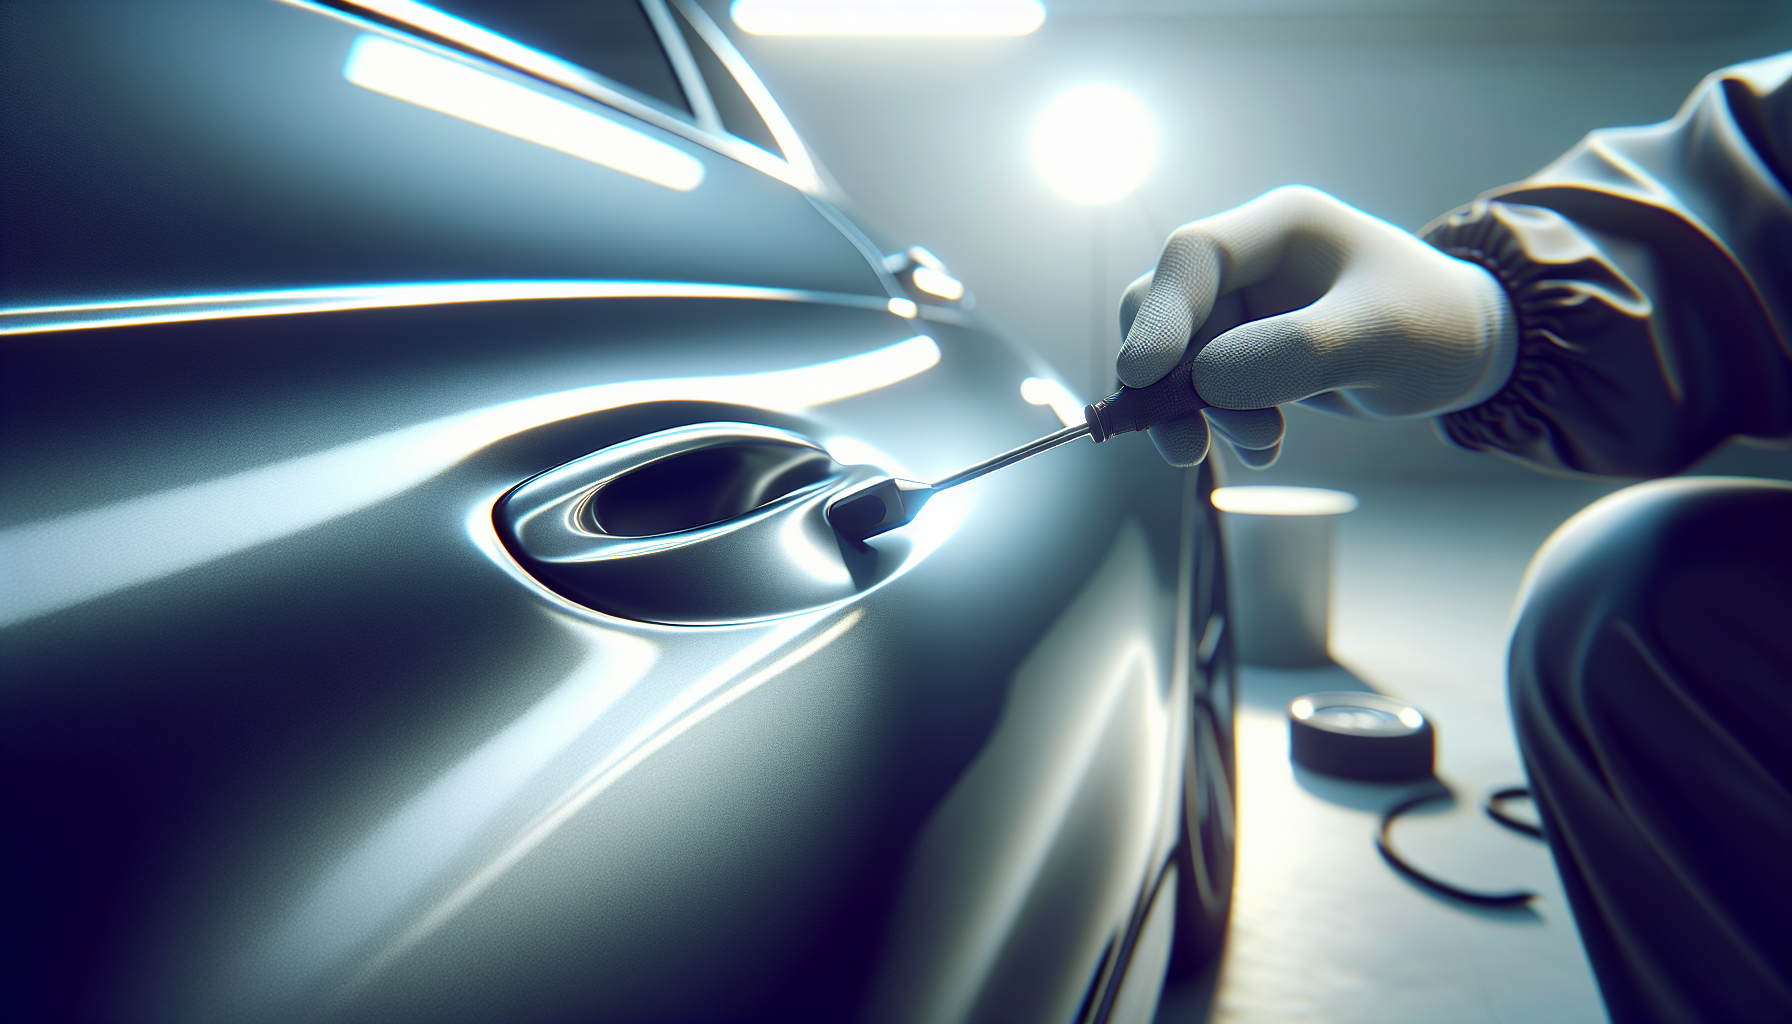
A glue puller is a mechanical device that uses specially formulated hot-melt glue and a pulling handle to gently but firmly pull dents out from the vehicle’s metal surface. The glue is applied to tabs that you attach to the dented area. After the glue sets, the pulling handle exerts controlled, incremental force on the tabs, slowly straightening the dent. Once the dent has been pulled out, the glue and tabs are removed, leaving a smooth, near-original surface ready for refinishing.
This tool is excellent for repairing **shallow dents, door dings, and creases** caused by minor impacts such as shopping carts, hail, or accidental bumps. It won’t work on sharp creases or deep punctures but shines in situations where paint is intact and there’s no need to dismantle the auto body.
Here is a real image of a [glue puller kit](https://example.com/glue-puller-image) to give you a clear understanding of the equipment.
Using a glue puller rates low to moderate on the difficulty scale. Beginners can master it quickly, but practice improves results dramatically. It’s best suited for dents between 1 and 6 inches in diameter where the paint is not cracked or peeled.
Step-by-Step Guide to Using a Glue Puller for DIY Dent Repair
Follow these steps carefully for a reliable and effective dent removal process:
1. Clean the Dent and Surrounding Area
Before you do anything, clean the dented surface thoroughly with isopropyl alcohol or an auto body-safe cleaner. This removes dirt, wax, and oils that could prevent the glue from adhering properly to the metal. Once dry, mask the surrounding panel with painter’s tape or plastic sheeting to protect it from accidental glue splashes.
2. Heat and Prepare the Glue
Most glue puller kits come with hot-melt glue sticks and a glue gun designed specifically for auto body repair. Insert a glue stick into the glue gun and heat it according to the manufacturer’s instructions (usually 2-5 minutes). Keep the temperature moderate to avoid excessive runny glue, which can make cleaning difficult.
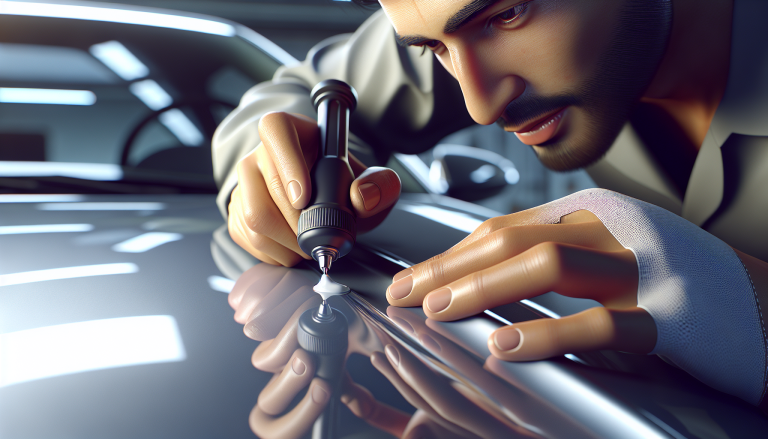
3. Attach Glue Tabs to the Dent
Once your glue is ready and viscous, apply a generous bead to the pulling tab’s flat surface. Immediately press the tab to the center of the dent, holding it firmly against the panel for about 30 seconds. This ensures strong bonding. Use multiple tabs if the dent is wide or irregular, spacing them evenly to distribute the pulling force.
4. Let the Glue Set
Allow the glue to cool and harden completely. This usually takes around 5 to 10 minutes depending on your environment. Wait for the glue to turn opaque and solidify, as this indicates maximum adhesion.
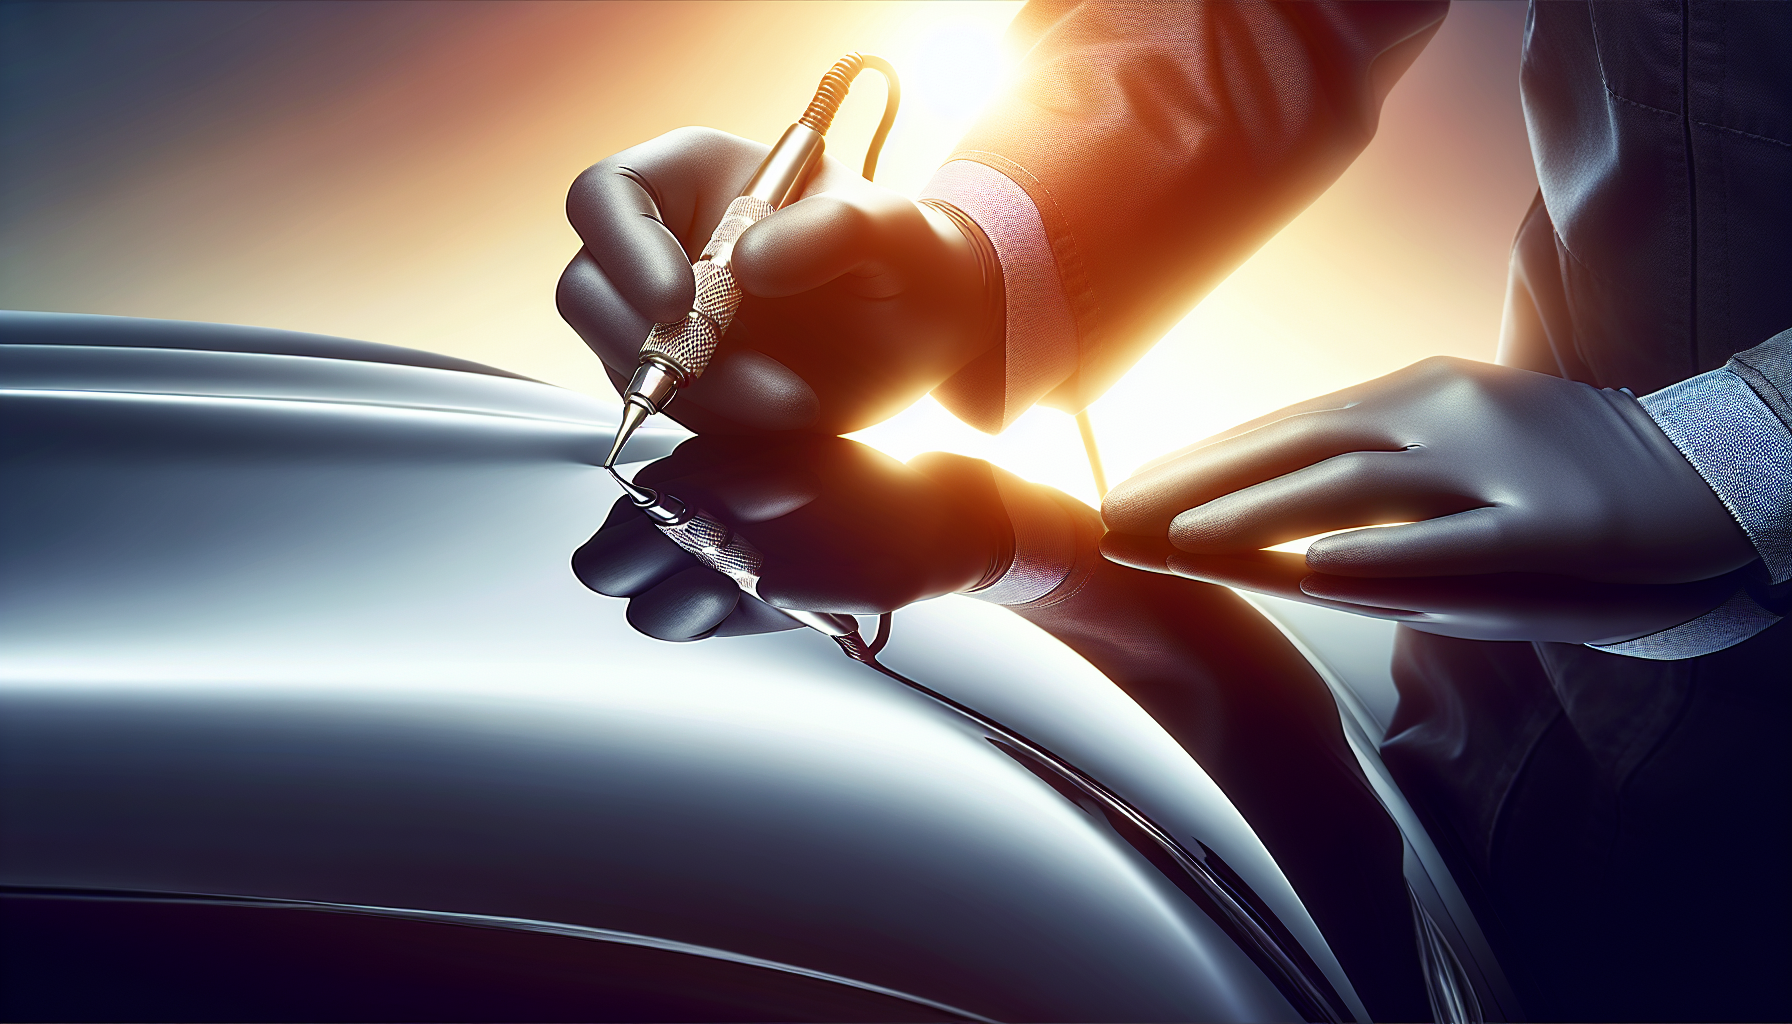
5. Pull the Dent Out
Attach the pulling handle to the glued tabs. Most glue pullers use either a slide hammer or a lever-operated pulling mechanism. For beginners, a lever puller is steadier and easier to control. Slowly and firmly pull the dent outwards in gradual increments. Avoid jerky or excessive force, as it can damage the paint or metal.
After a few pulls, the dent should visibly raise closer to the original panel level. If you don’t see progress, recheck the tab adhesion or apply additional tabs nearer to the edges of the dent.
6. Remove Glue and Tabs
Once satisfied with the dent’s position, it’s time to remove the glue and tabs. Most glue puller kits include a specialized solvent to dissolve the hot-melt glue safely without harming paint. Spray or apply the solvent around the tab and gently pry it off. Use a plastic razor blade or an old credit card to scrape away any glue residue. Be patient, as aggressive scraping can scratch your auto body.
7. Clean and Inspect
After all glue and tabs are gone, clean the area again with a mild cleaner. Inspect your work under different light angles. Some dents may require a second glue pull or finishing techniques like light hammering or sanding. This is normal—take your time and apply small adjustments.
Pro Tips for Using a Glue Puller Effectively
– Use the right size pulling tabs: smaller tabs work best on small dents, while larger tabs handle bigger areas.
– Work in a warm environment to ensure the glue stays pliable but sets quickly.
– Avoid pulling too hard too fast; slow steady pulls prevent panel overstretching.
– Keep a hair dryer handy to gently warm and soften the panel if it feels too stiff.
– Practice on scrap panels to get a feel for the pulling force and glue application.
Alternate Uses of the Glue Puller Tool
Beyond traditional dents, glue pullers can also assist in removing minor crease dents created by door edges or shopping bags that left shallow marks. Additionally, they are useful for pulling plastic bumpers and some body trim that have minor dents, provided glue adheres well to the surface.
Many DIYers appreciate glue pullers for their non-invasive nature—no drilling holes or welding clamps means less risk of panel damage and simpler cleanup.
Summary of Advantages of the Glue Puller Tool:
– Affordable and widely accessible for DIY enthusiasts.
– Non-damaging to paint and auto body surfaces.
– Effective on small to medium-sized dents.
– Requires minimal technical skill but offers professional results.
– Comes in portable kits easy for garage storage.
If you want to achieve professional-grade DIY dent repair with minimal frustration, I highly recommend mastering the glue puller. With practice and patience, this tool will be a trusty ally in keeping your vehicle’s auto body looking pristine.
Remember, successful dent repair is all about the right equipment combined with a careful, methodical approach. Your DIY efforts will pay off immensely with this tool in your arsenal. Happy dent pulling!