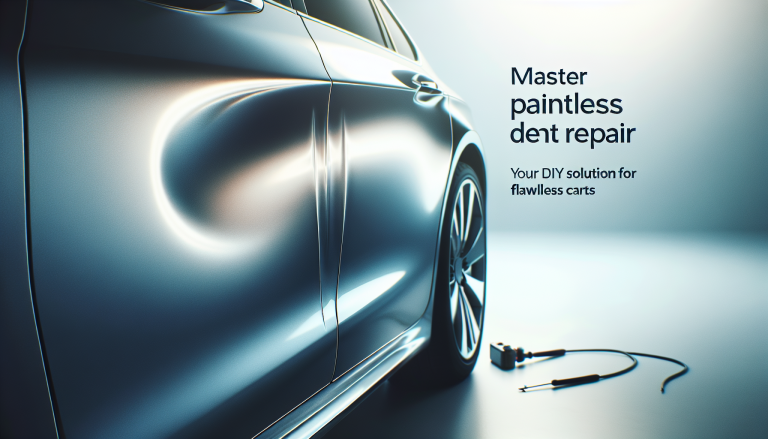
PDR (Paintless Dent Repair): A Precise DIY Approach for Minor Automotive Dents
Paintless Dent Repair (PDR) is one of the most efficient and cost-effective dent repair techniques available for minor dents where the paint surface remains intact. This method involves massaging the dented metal back into its original shape without the need for sanding, painting, or fillers, maintaining the vehicle’s factory finish. For those passionate about DIY auto body repair, mastering PDR offers a rewarding skill that can save substantial money and preserve vehicle value.
Difficulty Level: Intermediate. Best suited for small to medium-sized dents caused by hail, door dings, or minor impacts where the paint is not cracked or chipped.
Type of Damage: Shallow dents without paint damage or creases in the metal.
Tools and Materials Needed for DIY Dent Repair Using PDR
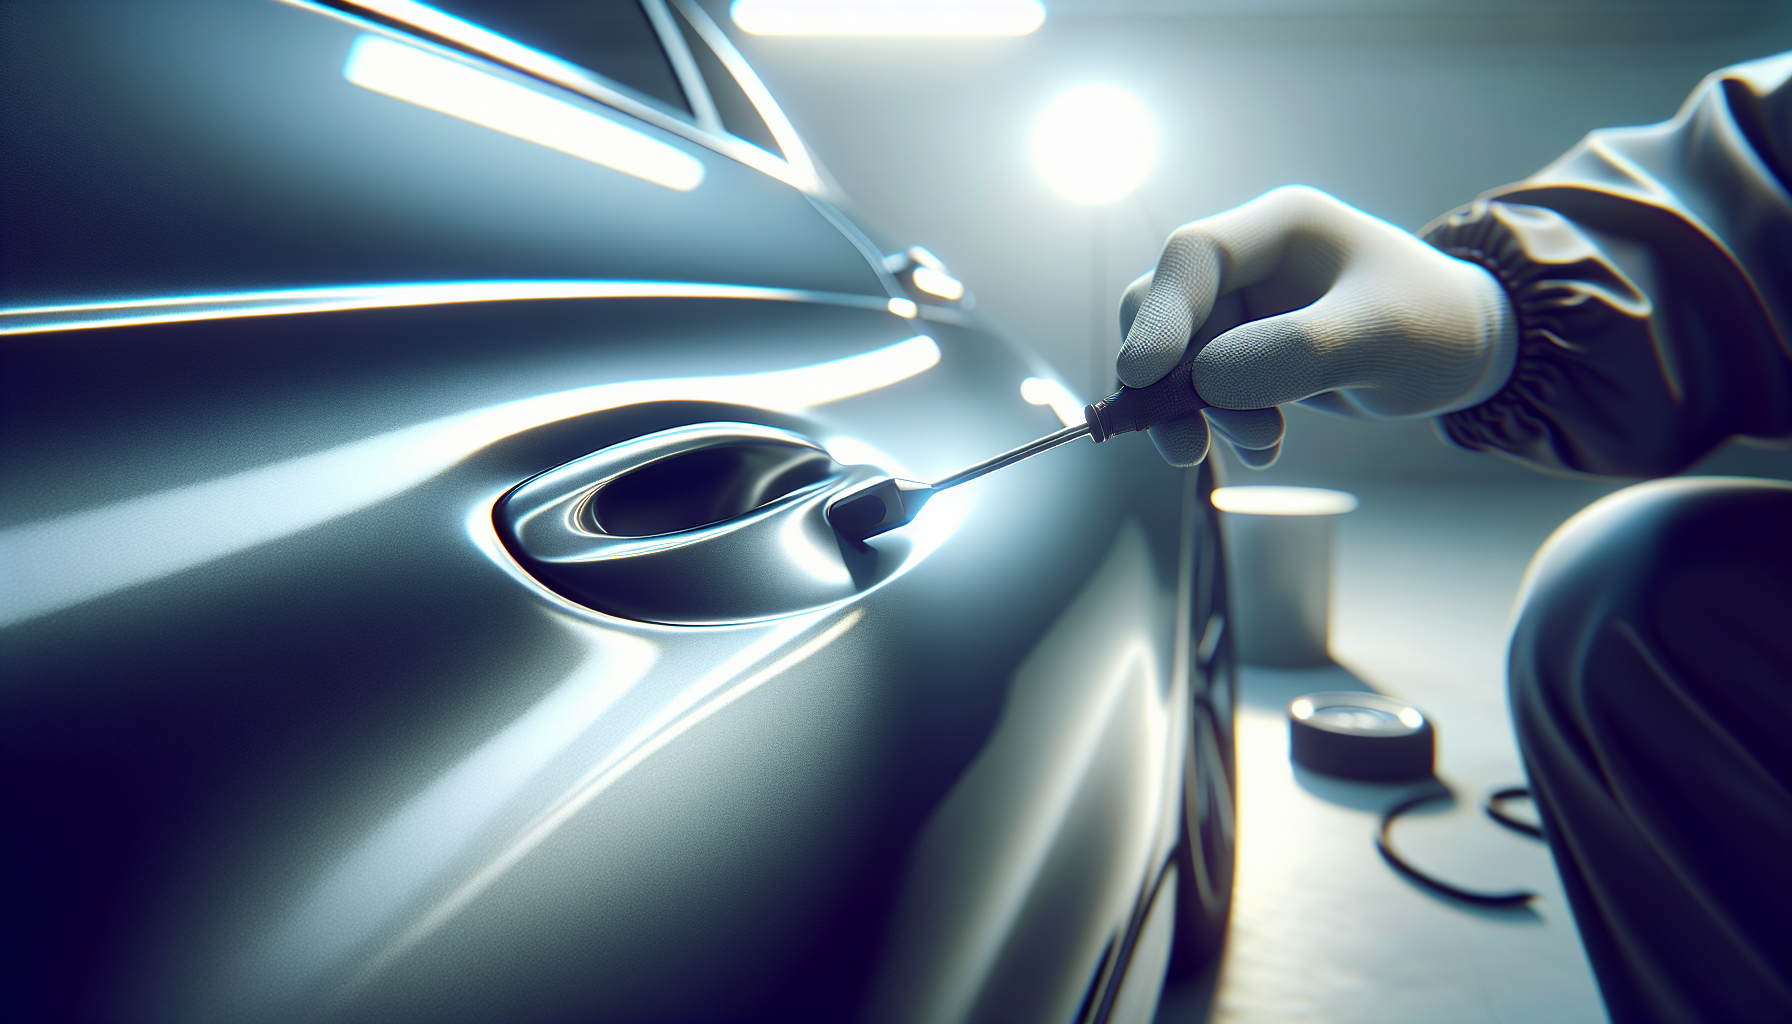
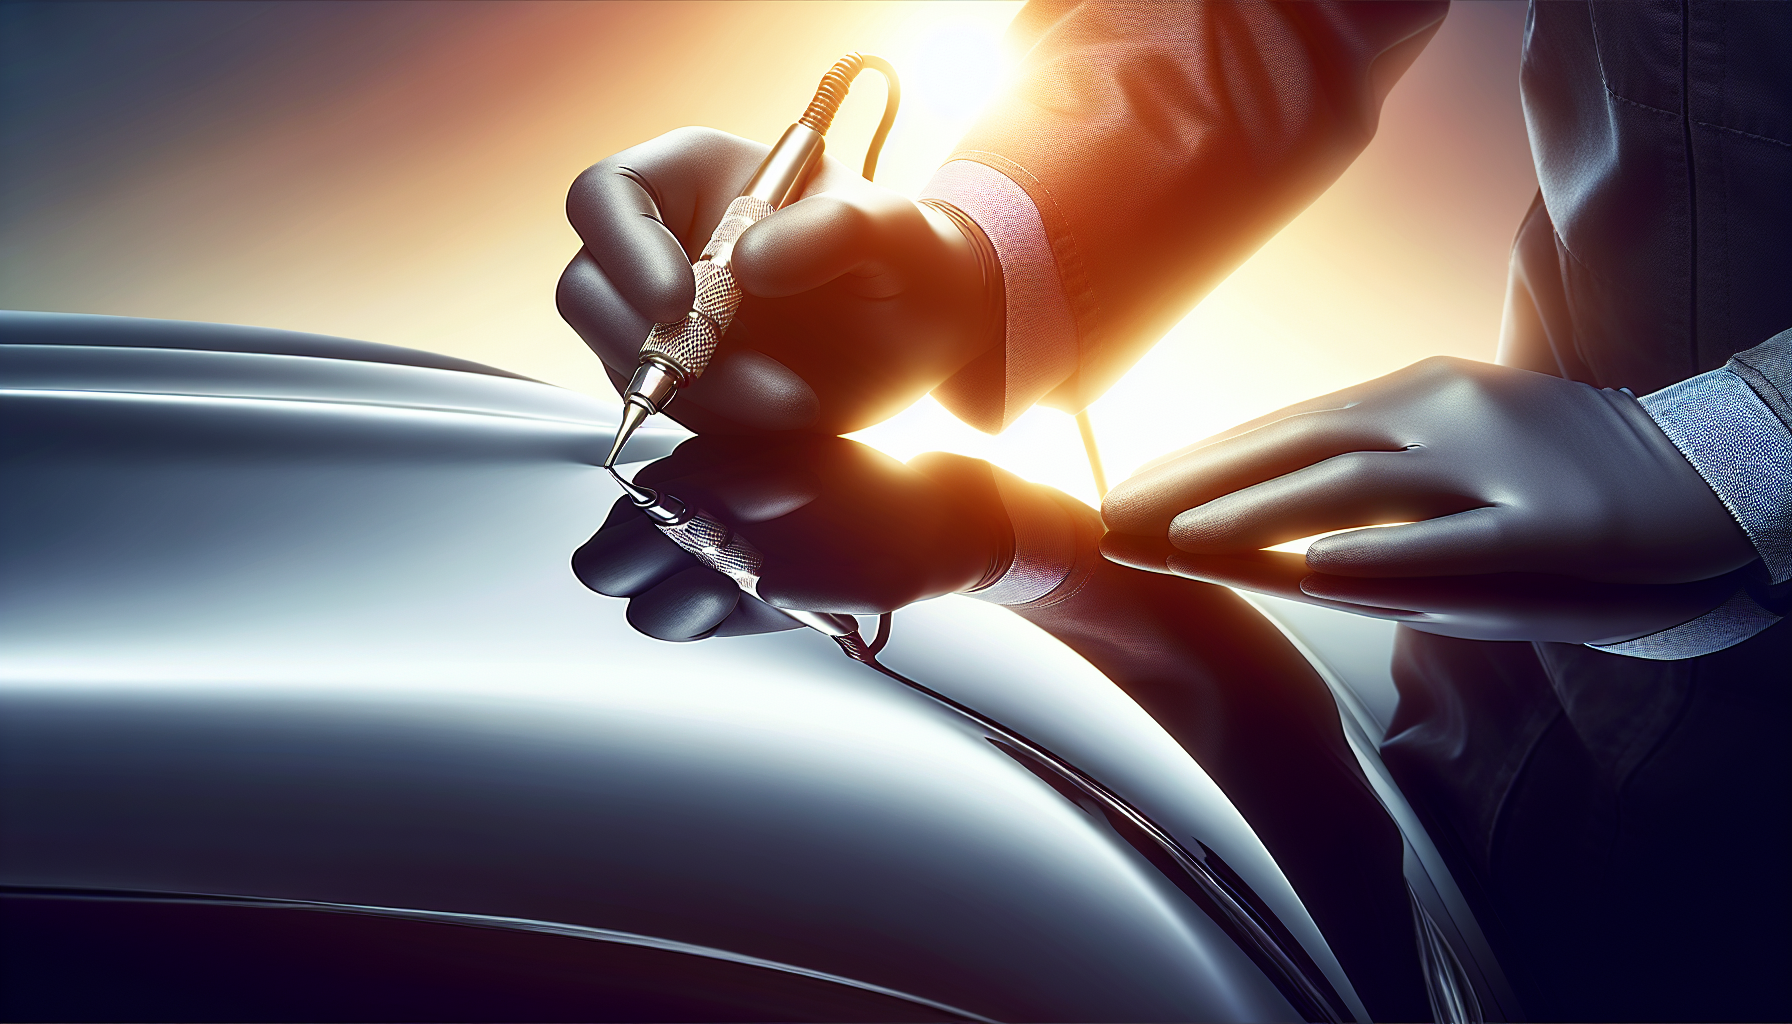
– PDR Rods and Hooks: A variety of steel rods with different bends and tips designed to access the backside of body panels.
– Dent Lifter and Tap Down Tools: For surface-level dents and to smooth any high spots.
– Knockdown Hammer and Metal Tap: To carefully level high points.
– LED PDR Light or Reflector Board: Crucial for spotting the dent and tracking progress using light reflections.
– Clean Microfiber Cloths
– Heat Gun (optional): Useful for making metal more pliable if needed.
– Gloves and Safety Glasses
Step-by-Step Guide to DIY Dent Repair with PDR
1. Assess the Damage: Examine the dent closely under good lighting to ensure there is no paint damage or metal cracking. Use your LED PDR light or reflector board to view how the dent distorts the light lines. This will help determine the size and depth, guiding you to select the appropriate tools.
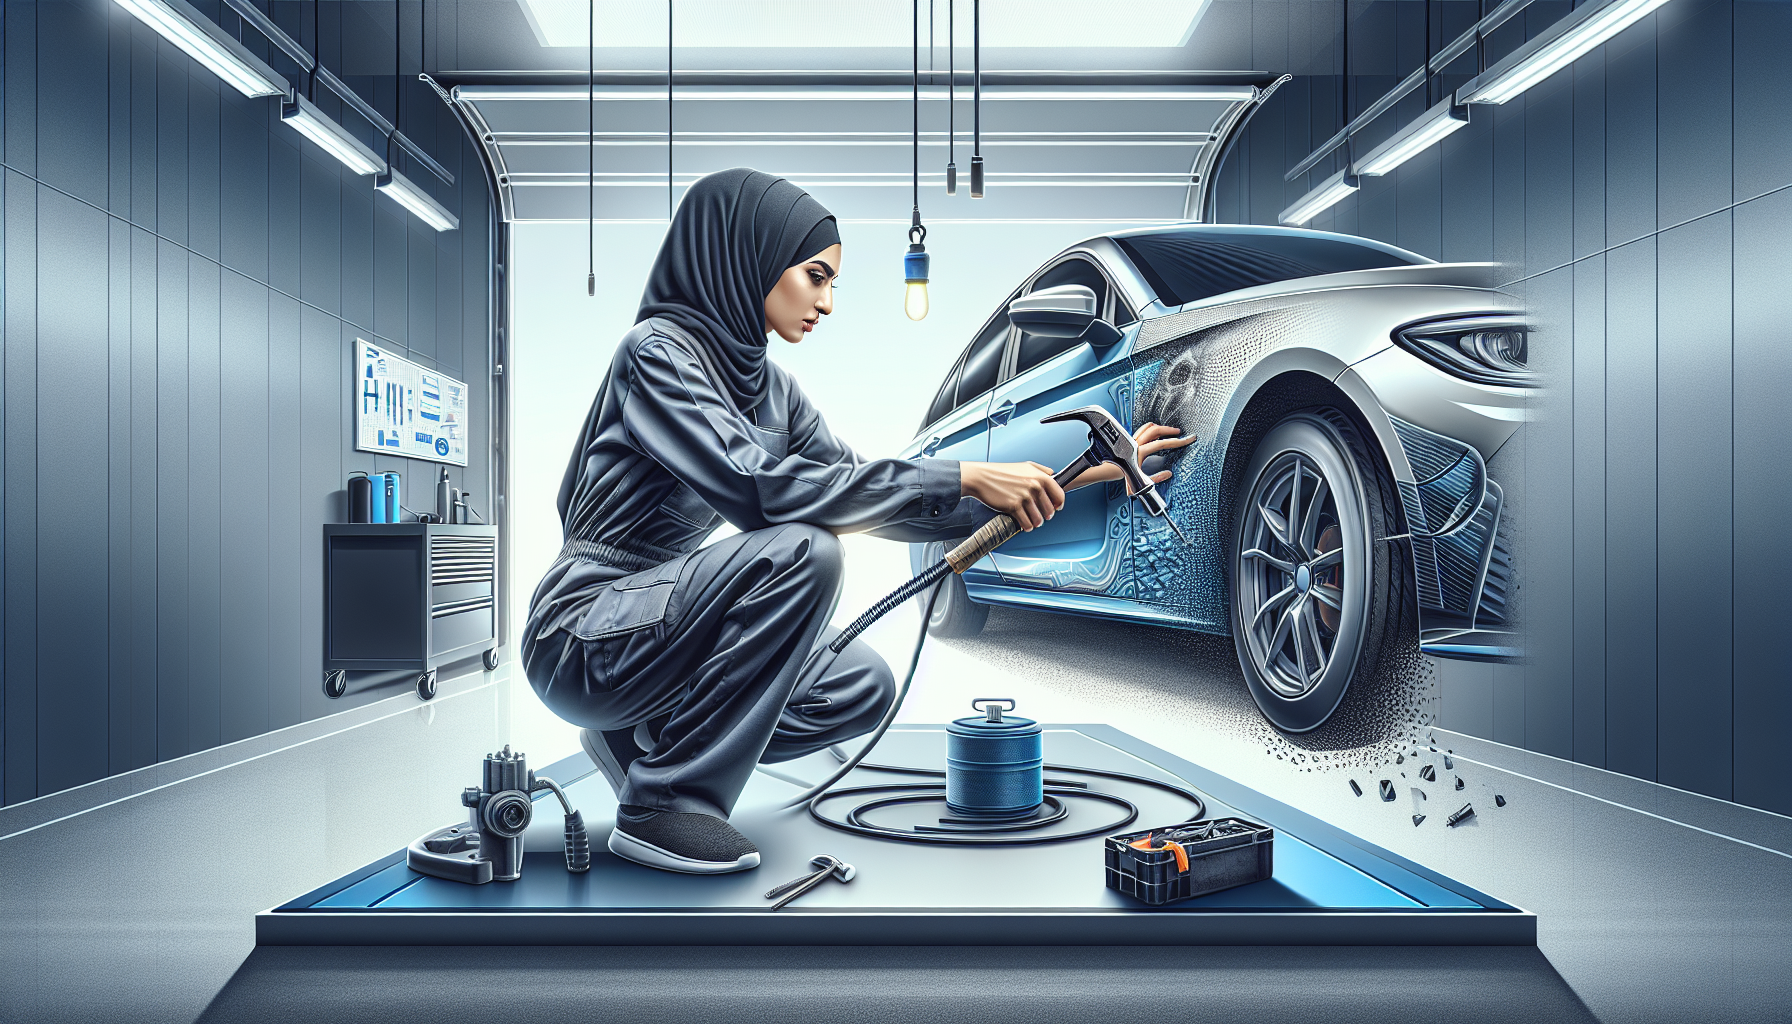
2. Gain Access Behind the Dent: The key to successful paintless dent repair is working from the backside of the panel. Open doors, trunks, or remove interior panels if needed to reach the dent location. Take your time here since limited access is a common stumbling block for DIYers.
3. Start With a Suitable PDR Rod: Choose a rod thickness and shape that fits the panel cavity behind the dent. Insert the rod carefully behind the dent’s deepest point. Maintain steady contact, and apply gentle, controlled pressure to begin “pushing” the dent out slowly. Avoid forcing too much at once to prevent panel stretching.
4. Work the Metal in Small Increments: Use a technique called “massaging” where you push slightly beyond the dent’s edge and gradually move towards the center. Constantly check the dent’s progress with your light source, as subtle changes can indicate whether you need to adjust the force or position.
5. If Access from Behind is Limited, Use a Glue Pulling Kit: Though this veers slightly from pure PDR, it’s a practical DIY alternative. Clean the dent surface and apply a hot glue tab to the center of the dent. Attach the pulling tool and gently pull the dent outward. Repeat as necessary, then finish with small taps using a knockdown hammer to remove high spots.
6. Refine With Tap Down Tools: During the pushing or pulling process, some metal points may pop out too much, creating high spots. Gently tap these down using the knockdown hammer or metal tap tool while protecting the surface from damage with a thin plastic or rubber pad.
7. Use Heat for Stubborn Spots: If the metal feels too stiff or creased, warm the area gently with a heat gun on a low setting. Heat relaxes the metal allowing it to flex more easily during repair. Be cautious not to overheat, which could damage paint.
8. Final Inspection and Touch-Up: After the dent is smoothed out, inspect the panel thoroughly under your PDR light for any imperfections. Minor surface irregularities can be polished out with fine polishing compounds. Clean the panel with a microfiber cloth.
Expert Tips and Safety Precautions for Successful DIY Dent Repair
– Always prioritize accessing the backside of the dent. Without direct pushing, results are less precise.
– Work patiently and methodically—rushing is the biggest cause of damaging the paint or stretching metal.
– Protect your hands and eyes with gloves and safety glasses, particularly if removing interior trim panels.
– Use high-quality PDR tools. Cheap alternatives often bend or scratch, compromising the repair.
– If the dent has any paint cracking or very sharp creases, PDR is probably not suitable. Seek professional help to avoid worsening damage.
– Document your progress with photos or video, which helps track improvement and provides confidence.
Why Choose Paintless Dent Repair for Your DIY Auto Body Repair?
PDR stands out among dent repair methods because it preserves the original paint finish, maintaining your vehicle’s aesthetic and resale value. DIY dent repair with PDR tools combines craftsmanship with patience, giving car owners direct control over restoring their vehicle’s appearance without costly body shop visits. Easy access and the right lighting are essential to success, making this method technically rewarding as well.
One of the greatest advantages lies in minimal cleanup—no fillers, sanding, or repainting means a cleaner workspace and fewer toxic materials to handle. Plus, the low cost of tools relative to professional fees makes this an excellent learning investment.
“Every dent tells a story; fixing it yourself preserves not just the panel but your pride in handiwork.”
By following these detailed steps and using the proper techniques, even intermediate DIYers can confidently tackle small to medium dents with PDR, delivering professional-grade results while honing a valuable skill for any automotive enthusiast.