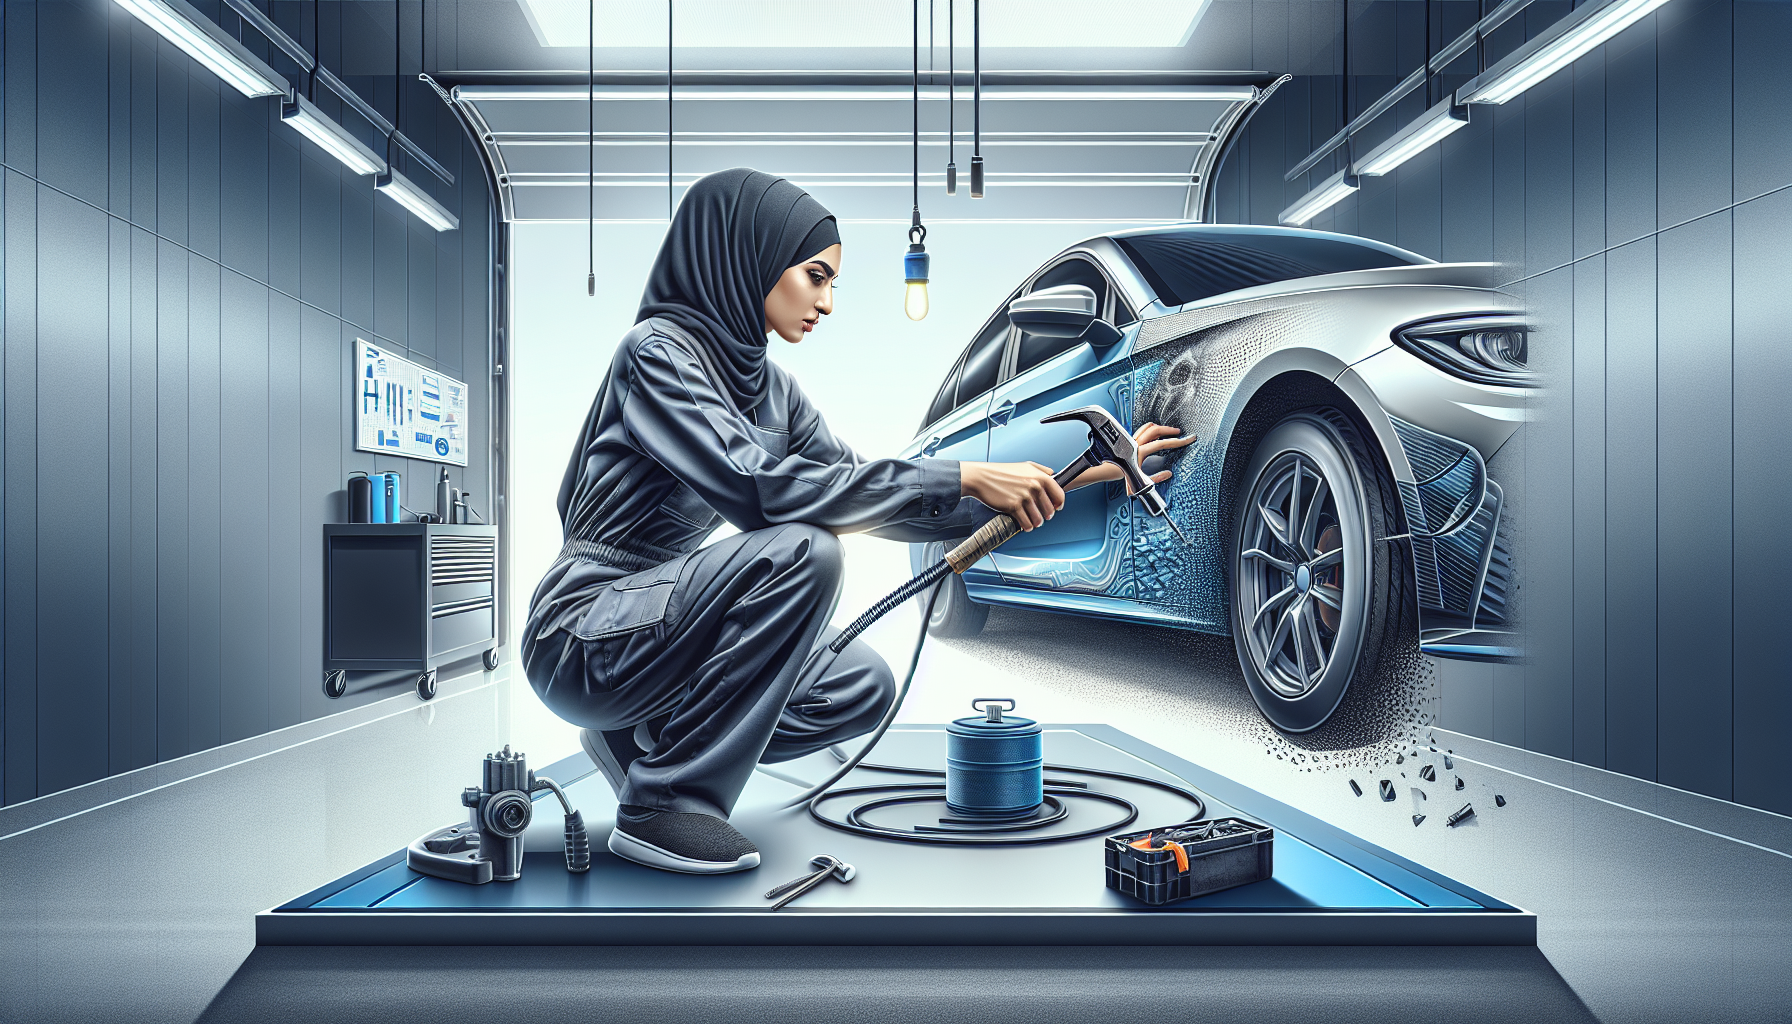
Pulled Out Paintless Dent Repair (PDR) Technique for DIY Auto Body Repair
Paintless Dent Repair (PDR) is one of the most effective and accessible dent repair methods for DIY enthusiasts, especially for small to medium-sized dents without paint damage. This technique preserves the original paint finish, avoiding costly repainting. The “pulled out” PDR method uses specialized glue pulling tools to gradually draw the dent outward until the metal regains its original shape.
Difficulty Level and Damage Type
Pulled out PDR is moderately challenging but manageable for beginners with patience and the right tools. It’s ideal for dents with no sharp creases or paint cracks, such as door dings, parking lot dents, and minor hail damage on flat or slightly curved panels. It doesn’t work well for dents with stretched metal or complex contours.
Essential Tools You’ll Need
– Dent puller kit with a variety of plastic or metal tabs
– Hot glue gun with suitable glue sticks for automotive use
– Isopropyl alcohol and microfiber cloth for cleaning
– Plastic scraper or credit card
– Hairdryer or heat gun (for warming the metal and glue)
– Rubber mallet or tapping tool for fine adjustments (optional)
– Work gloves and safety goggles
Step-by-Step Guide to DIY Dent Repair Using the Pull Method
1. **Clean the Dent and Surrounding Area**
Thoroughly clean the dented surface with isopropyl alcohol and a microfiber cloth. This removes dirt, grease, and wax, ensuring the glue will bond securely. Avoid using household cleaners with wax or oil residues, as they weaken the glue’s hold.

2. **Select the Appropriate Glue Pulling Tab**
Dent puller kits come with tabs of various shapes and sizes. Choose a tab that covers the dent’s widest area without overlapping the paint edges or creating undue stress on the panel. Plastic tabs for delicate finishes and metal tabs for strength are both common.
3. **Heat the Dented Area and Glue Stick**
Use a hairdryer or heat gun to warm the dented metal surface lightly (around 120°F-140°F). This softens the metal, making it easier to reshape and enhances glue adhesion. Also, warm the glue stick slightly to improve flow and bonding strength. Be careful not to overheat or blister the paint.
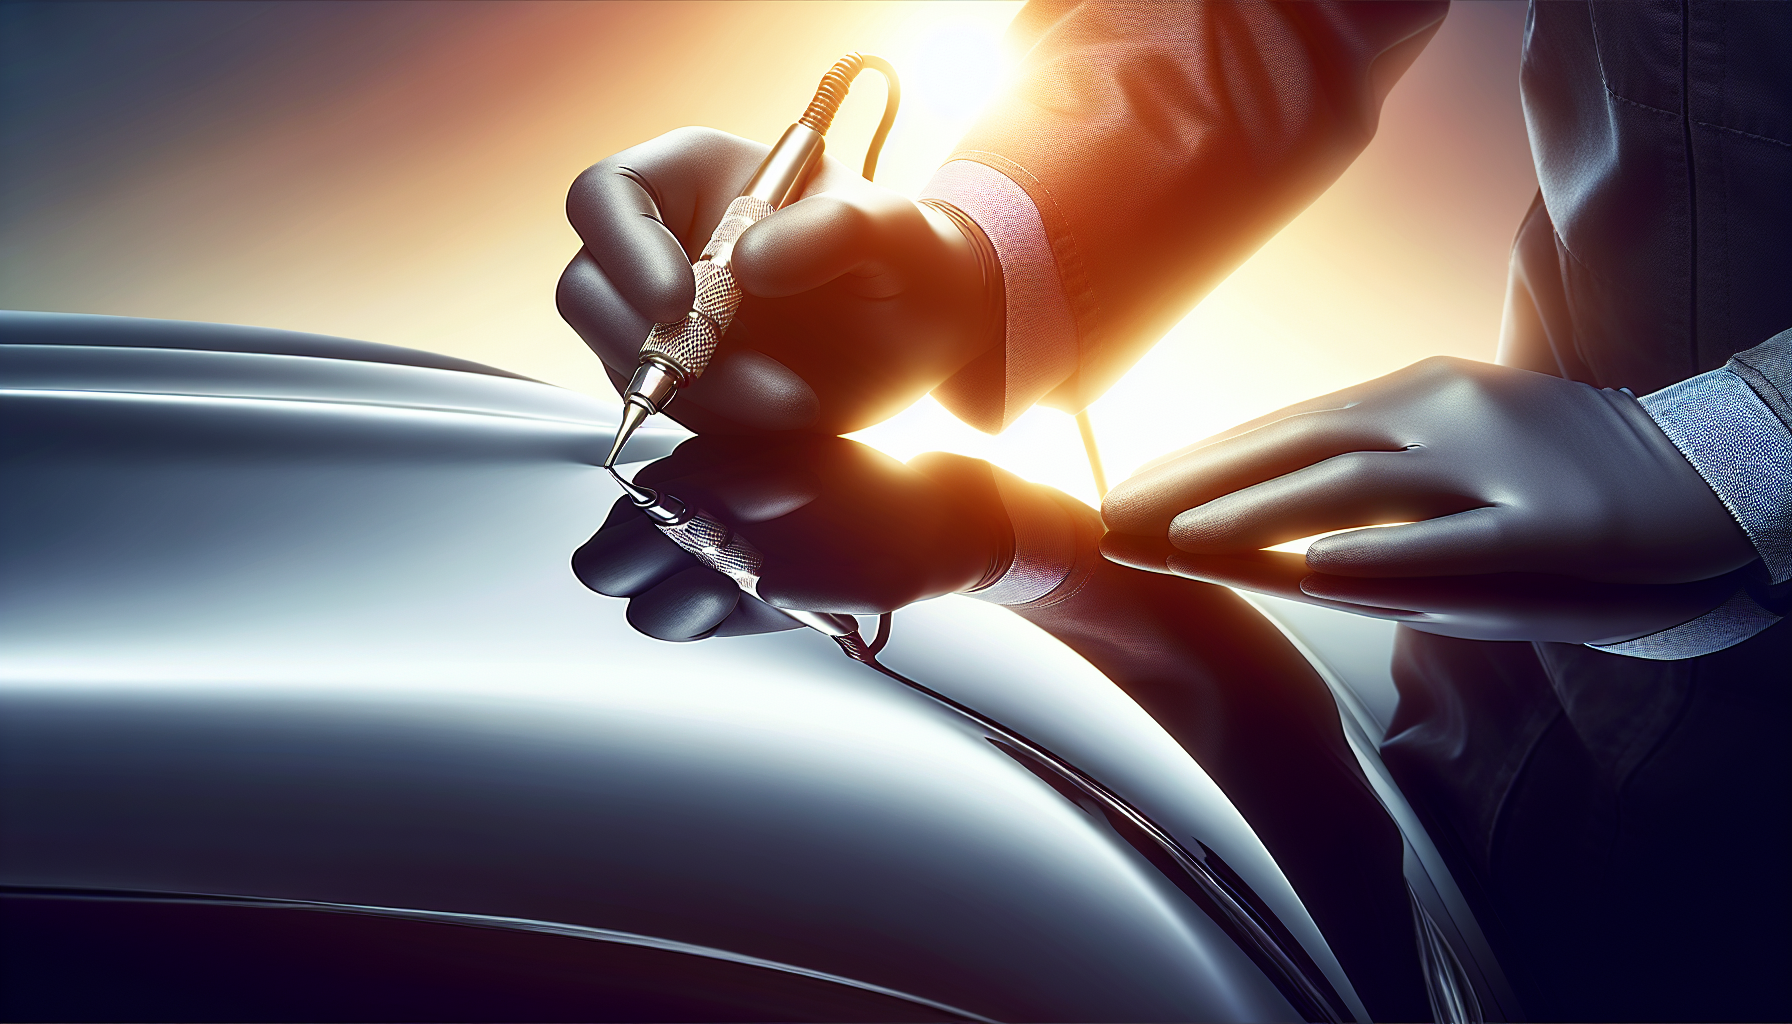
4. **Apply Glue to the Tab and Attach to Dent**
Squeeze a small dot of hot glue onto the flat base of the tab. Quickly press the tab firmly onto the center of the dent and hold for 15-30 seconds, allowing the glue to cool and bond tightly to the surface.
5. **Attach the Puller Tool and Begin Pulling**
Depending on your dent puller kit, this may be a slide hammer, lever slide, or T-bar style puller. Insert or hook the pulling tool onto the glued tab. Apply gentle, steady pressure to gradually pull the dent out. Avoid jerking or sudden movements to prevent cracking the glue bond or damaging the metal.
6. **Check Progress Frequently**
Release the tool periodically to inspect the dent. If the dent is rising evenly, continue pulling with cautious incremental force. For uneven stretching, reposition the tab or apply additional tabs to distribute the force across different spots.
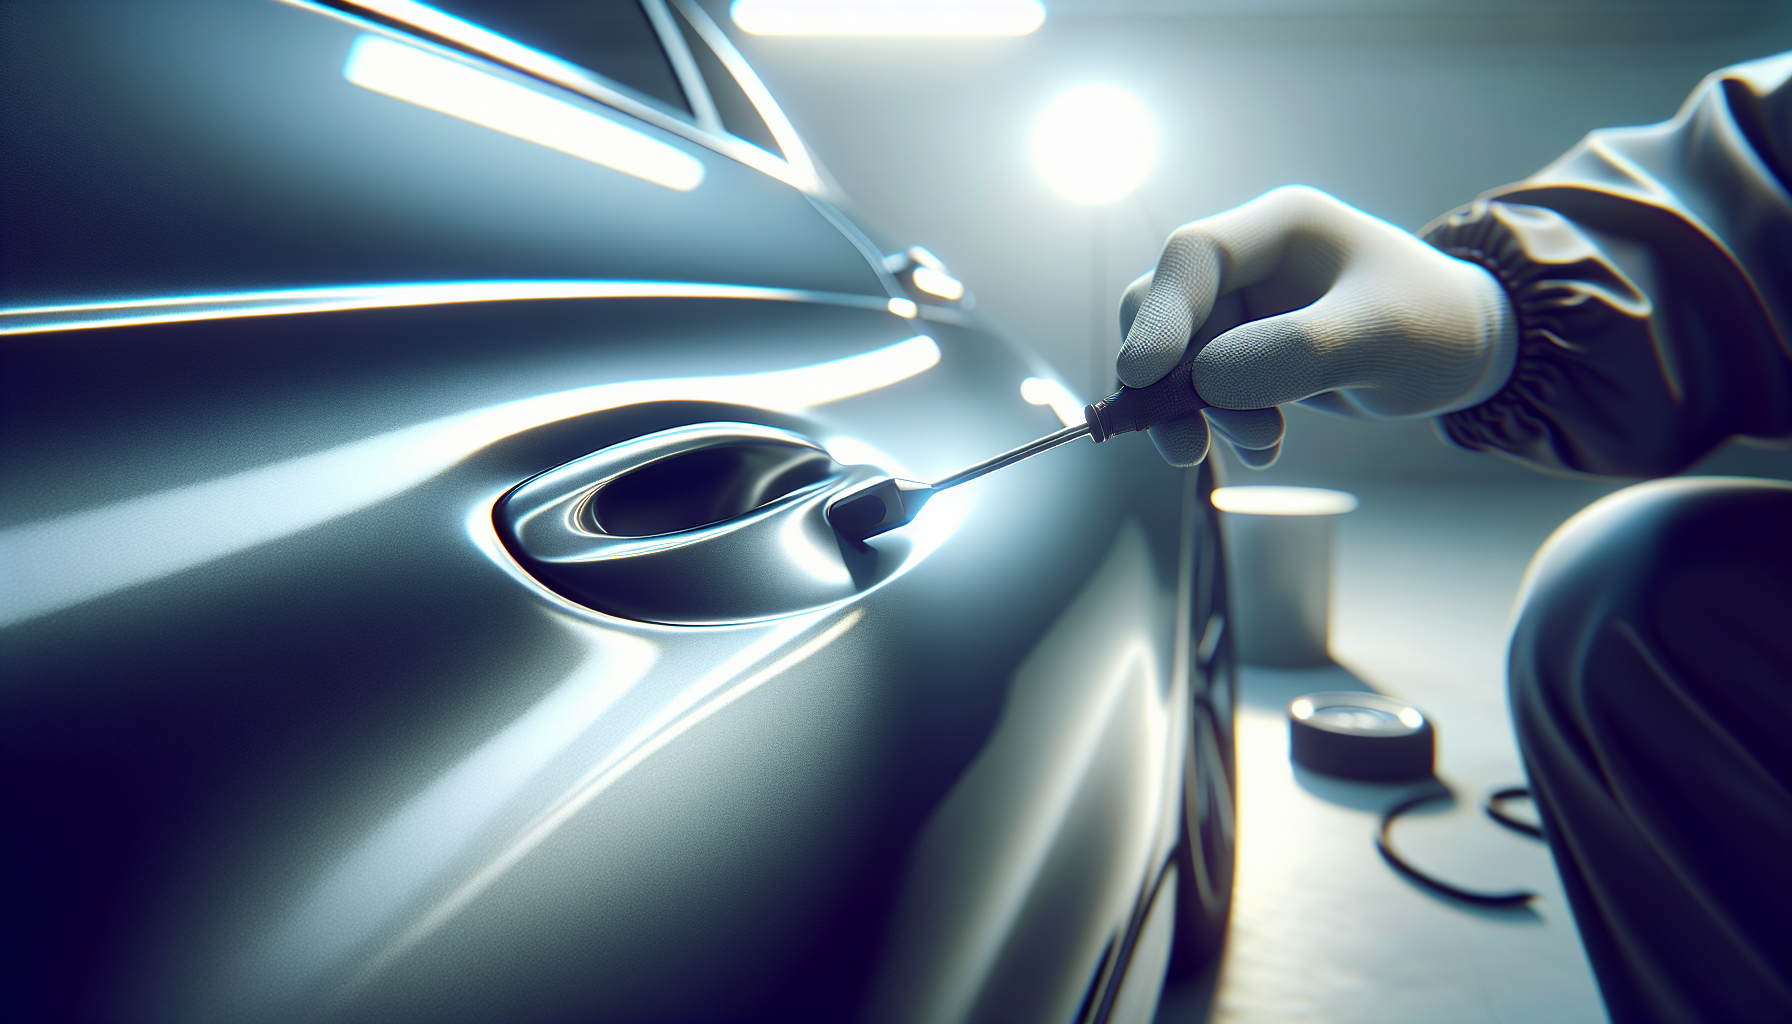
7. **Remove the Tab and Glue Residue**
Once the dent is nearly level with the surrounding panel, use a plastic scraper or credit card to peel the tab off carefully. Apply isopropyl alcohol to a cloth and rub away residual glue. Alcohol softens the glue making this step easier and preventing paint damage.
8. **Fine-Tune the Repair**
If minor imperfections remain, gently tap around the dent’s perimeter with a rubber mallet or a specialized PDR tapping tool placed on a clean cloth. This corrects slight high spots or unevenness without damaging the paint. Alternately, repeat glue pulling with smaller tabs on stubborn areas.
9. **Final Inspection and Cleaning**
Visually inspect your repair under different lighting angles to confirm the dent is eliminated or minimal. Clean the entire area with automotive polish or wax to restore shine and protect the finish.
Tips for Best Results and Safety
– Always wear gloves and goggles to protect from hot glue and splinters during the repair.
– Work in a shaded, dust-free environment to avoid debris embedding in glue or paint.
– Practice on scrap panels if possible to get comfortable with glue application and pulling force.
– Avoid overheating the paint, as excessive heat softens clear coat leading to bubbling or lifting.
– Patience is key! Slow, controlled pulling yields superior results without damaging panels.
– Do not attempt to repair dents with cracked or chipped paint using PDR; conventional bodywork and paint touch-up will be necessary.
Why Pulled-Out PDR is a Top Choice for DIY Dent Repair
This method allows beginners to achieve professional-grade dent repair without expensive paint supplies or complex techniques. Its minimal invasiveness shortens repair time and lowers cost, enhancing satisfaction. Many expert technicians rely on the glue pulling approach for precise visual panel restoration.
Whether you’re fixing a parking lot mishap or tackling minor hail dents, pulled out paintless dent repair stands out for efficiency, reliability, and preserving your vehicle’s factory finish. With proper preparation, the right tools, and careful patience, your DIY dent repair project will leave your car looking nearly flawless and save you significant money on auto body repairs.