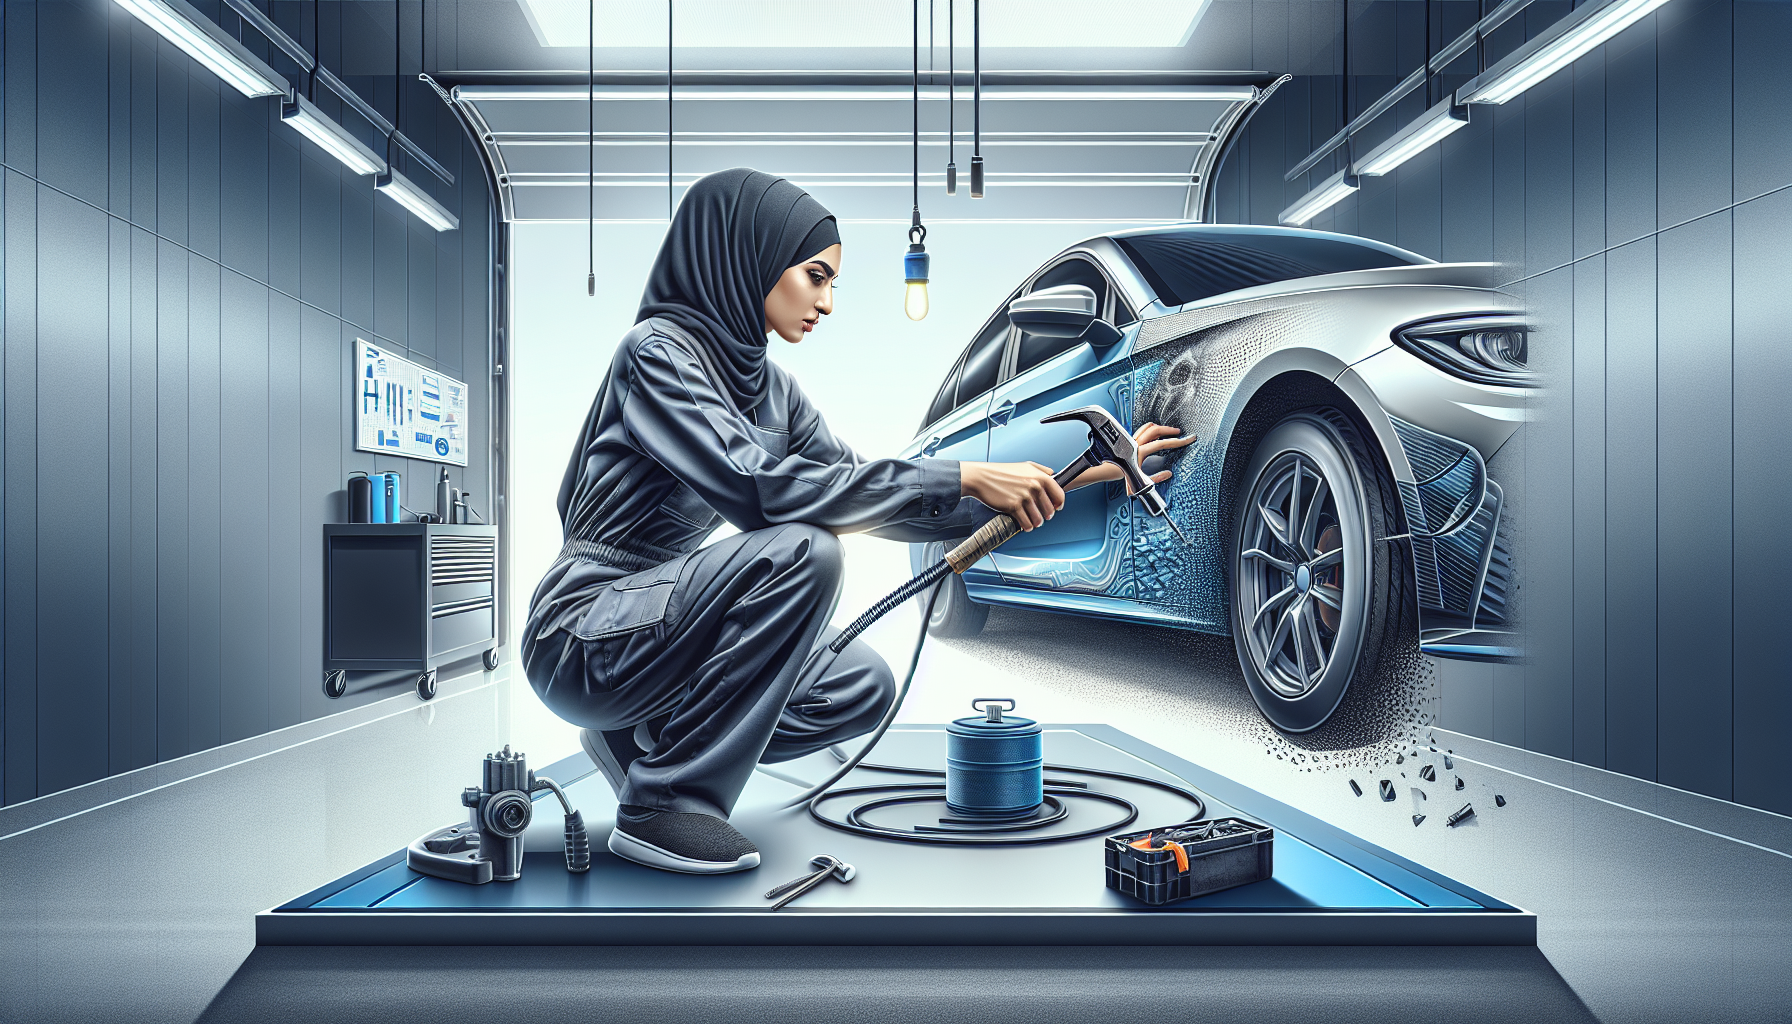
PDR Technique: Paintless Dent Repair for Small to Medium-Sized Dents
Paintless Dent Repair (PDR) is one of the most effective DIY dent repair methods designed primarily for minor to medium-sized dents where the paint remains intact. This technique is widely used by professionals and enthusiasts alike because it restores the metal to its original shape without the need for sanding, filling, or repainting. The process is clean, cost-effective, and often yields a result indistinguishable from factory finish.
Difficulty Level: Moderate
Type of Damage: Small to medium dents, dings, and hail damage on exterior panels with no paint cracks or chips.
This method requires some patience, attention to detail, and the right tools. Getting it right means your DIY auto body repair will look professional without the hefty price tag of traditional body shops.
Tools and Materials Needed for PDR
– PDR metal rods or a dent removal kit
– Glue pulling kit (includes glue gun, glue sticks, tabs)
– Knockdown tool or tap down hammer
– Plastic or nylon tapping tools
– Heat gun or hair dryer
– Isopropyl alcohol (to clean surfaces)
– Microfiber cloth
– Dent light or LED shop light for reflection and precision
Step-by-Step Guide to DIY Paintless Dent Repair
Step 1: **Assess the Dent**
Begin by examining the dent carefully under good lighting, preferably using a dent light. Look for any paint damage—if you see cracks, paint chipping, or deep scratches, PDR is not advisable as it can worsen the damage. PDR works best on smooth, shallow dents where the underlying metal hasn’t been stretched considerably.

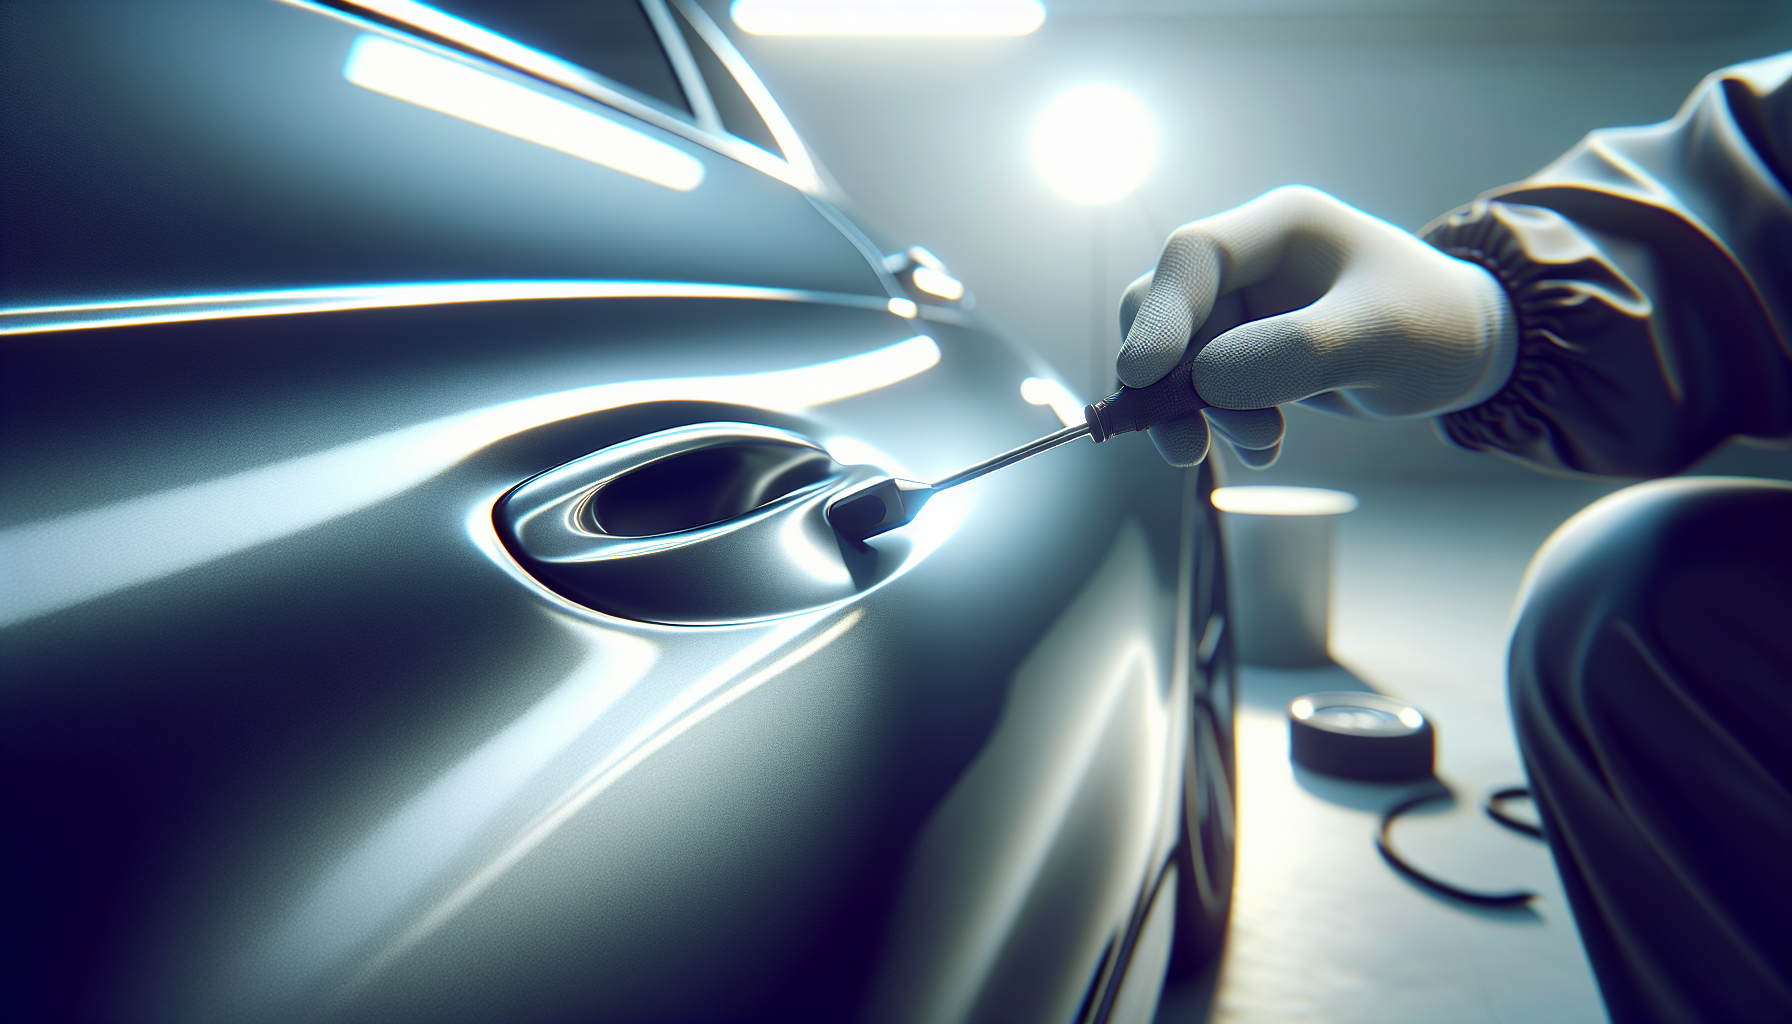
Step 2: **Choose Your Approach: Access Behind or Glue Pull**
If you have access behind the damaged panel (such as inside a door or fender), you can use rods to gently massage the metal out. For dents on flat or hard-to-reach surfaces, glue pulling is preferred.
Step 3: **Prepare the Work Area**
Clean the dent area with isopropyl alcohol and a microfiber cloth to ensure the glue sticks properly to the paint. Keep the surrounding area clean and dry.
Step 4: **If Using Rods: Locate the Back of the Dent**
Remove any panels or liners blocking access behind the dent. Insert the appropriate sized PDR rod to the backside of the dent. Using your other hand or a backing support, plan your movements carefully—PDR is all about gentle pressure and slow coaxing of the metal back into place.
Step 5: **Massaging the Dent Using Rods**
With steady, controlled pressure, push the dent out from behind in small bursts. Use a tapping tool on the front side if the metal springs back too much to “tap down” high spots and refine the shape. Work gradually, continuously checking progress from the front. Avoid excessive force as this can create ripples or stretch the metal.
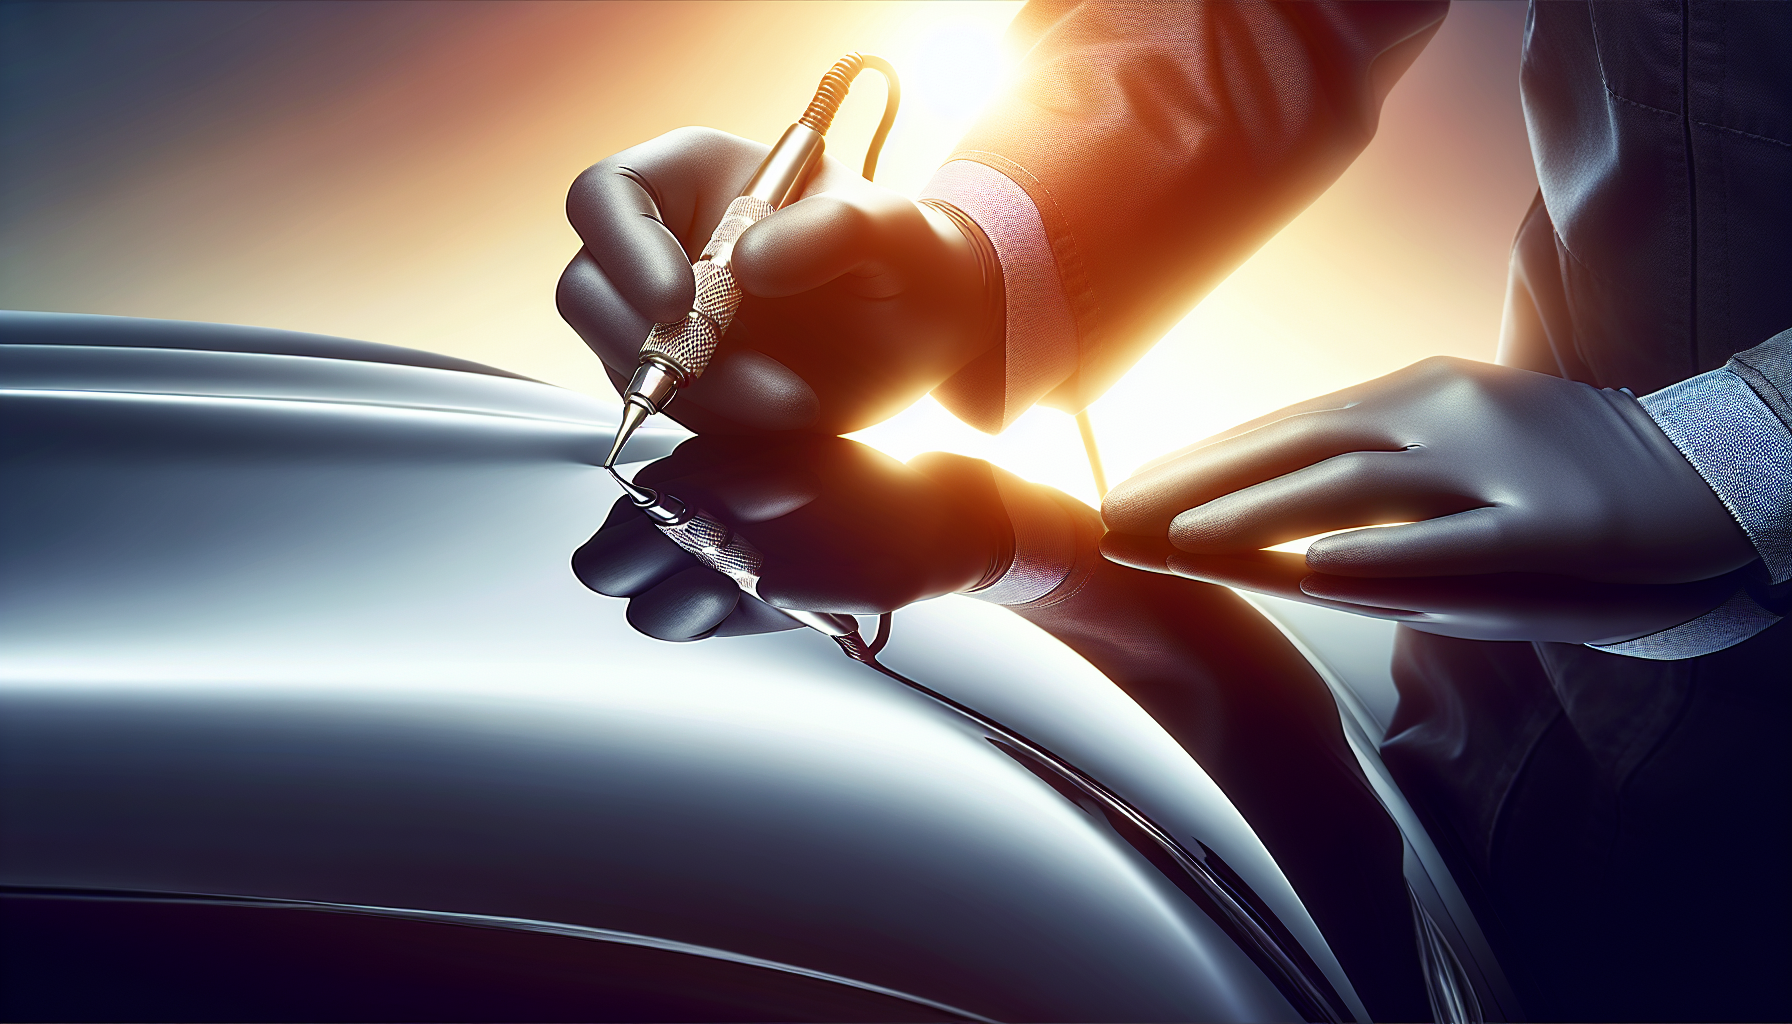
Step 6: **If Using Glue Pulling Method: Apply Glue Tabs**
Heat your glue gun and apply a small amount of glue onto the pulling tab. Quickly stick it to the center of the dent. Allow the glue to cool and bond for a few minutes. Attach your pulling bridge or slide hammer to the tab.
Step 7: **Pull the Dent Out**
Gently pull the dent outward by using the pulling tool or hammering method attached to the glue tab. Pull slowly and moderately until you see the dent start to raise. Avoid sharp, jerky pulls to prevent distorting the panel surface.
Step 8: **Remove Glue and Repeat if Needed**
Use isopropyl alcohol and a microfiber cloth to dissolve and clean residual glue carefully. If the dent is not fully removed, repeat the process with new glue tabs, slightly adjusting the position each time to work the dent out gradually.
Step 9: **Final Tapping and Refining**
Once the dent is mostly removed, use a knockdown tool or a nylon tapping hammer to flatten any high spots or imperfections left on the panel. Light tapping can help smooth out the surface without damaging the paint.
Step 10: **Polish and Inspect**
After the repair, clean the area again and inspect it under good lighting. If necessary, apply a swirl remover or polish to further enhance the finish. The repaired panel should now be almost indistinguishable from adjacent undamaged areas.
Additional Tips for Successful PDR DIY Dent Repair
– Patience is key. Rushing the process usually results in excess metal stretching or uneven surfaces.
– Always work in a shaded, dust-free environment to ensure temperature control for glue and minimize contaminants.
– Knowing how much pressure to apply comes with experience, so practice on old panels before tackling your car’s body to build confidence.
– Use a dent light because it drastically helps visualize the subtle high and low spots during the repair.
– Never overheat the paint with a heat gun; keep it moving and moderate the temperature to avoid cracking or discoloring.
Why Choose PDR for Your DIY Auto Body Repair?
PDR is a revolutionary technique because it keeps your vehicle’s original paint intact, which helps maintain factory warranty and resale value. It’s especially cost-effective for dents caused by hailstorms, parking lot mishaps, or minor collisions where the dent is shallow and the paint undamaged.
Many people assume dent repair is out of the amateur’s reach, but with proper tools and guidance, PDR can be handled in your garage. It offers professional-grade results once mastered, drastically reducing the need for expensive body shop visits.
Summary of Repair Difficulty and Suitability
For the DIYer, PDR is a moderate to advanced skill requiring steady hands, attention to fine details, and knowledge of your vehicle’s panel construction. Dents suited to this method are usually no larger than a basketball size and without creases or sharp edges. If you’re dealing with deep dents or heavy paint damage, consider a traditional auto body repair approach.
The payoff is substantial, though. By learning paintless dent repair, you gain a versatile, paint-saving skill that can be applied repeatedly, saving you time and money long-term. With the right preparation, tools, and dedication, your DIY dent repair can look so flawless it fools even the experts.